Product installation
These instructions guide you through a simple installation in 14 short steps. Stuck somewhere? Every step has a “Help me” section.
Connect the box
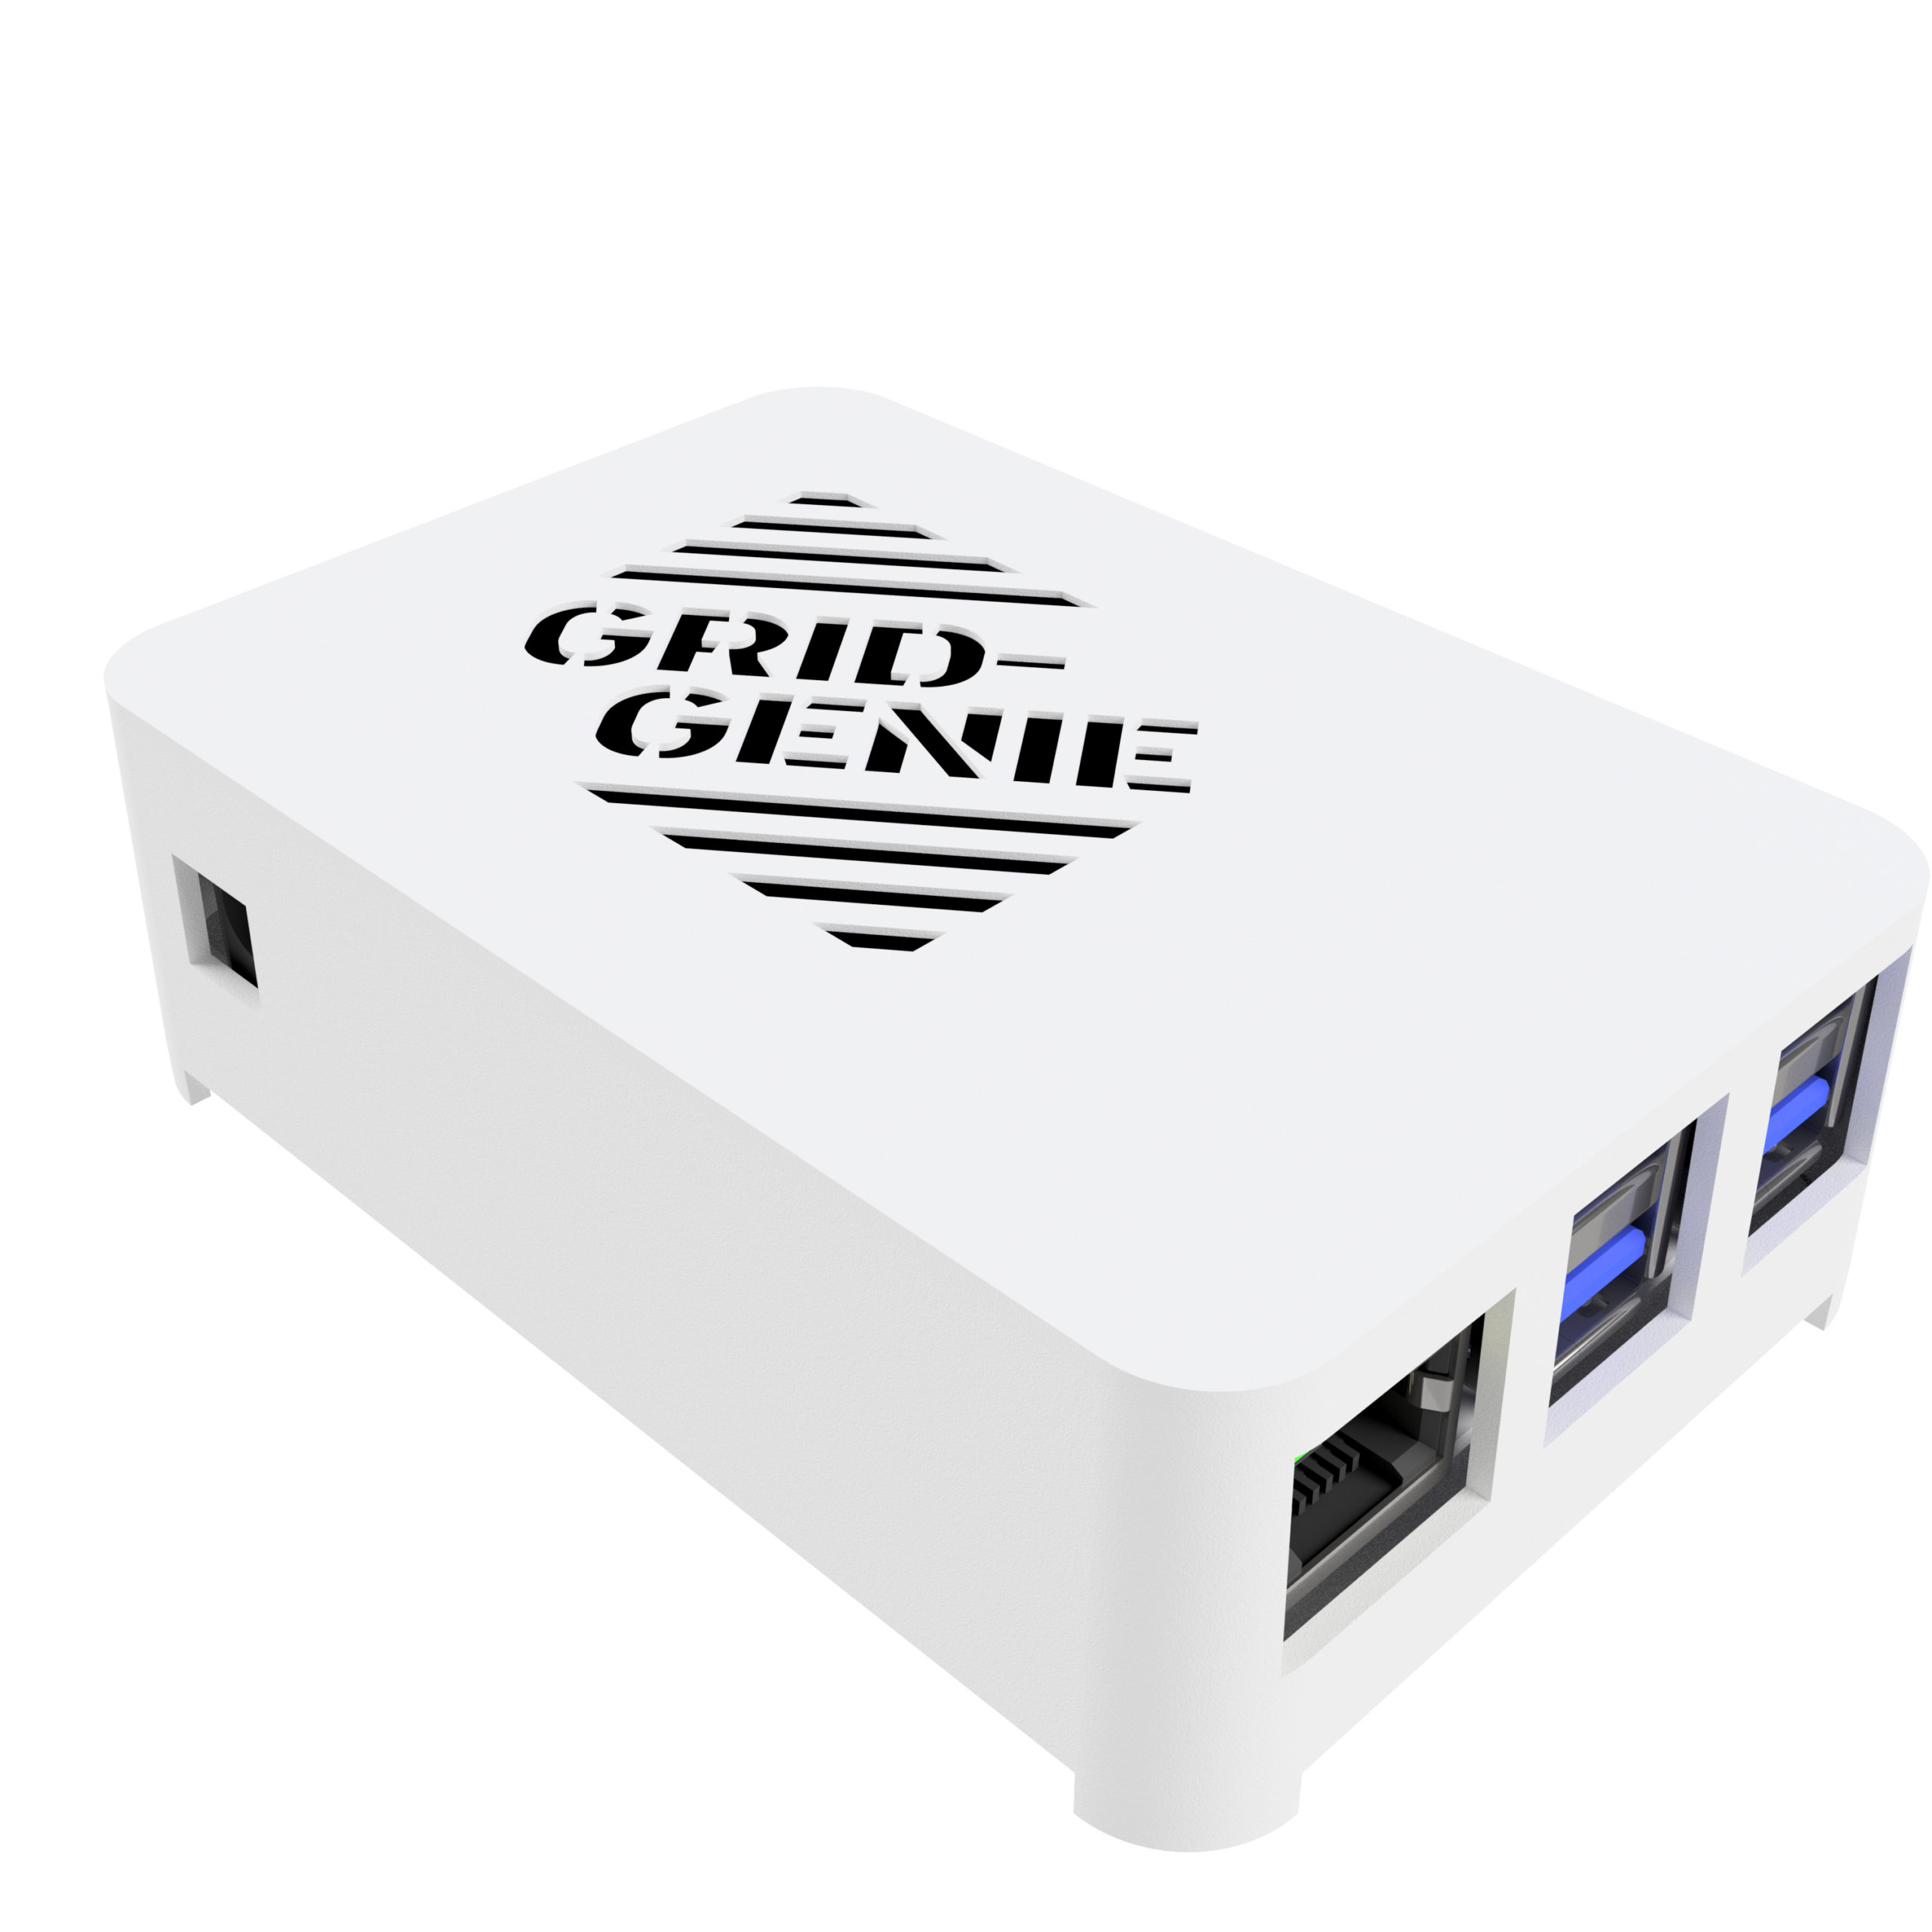
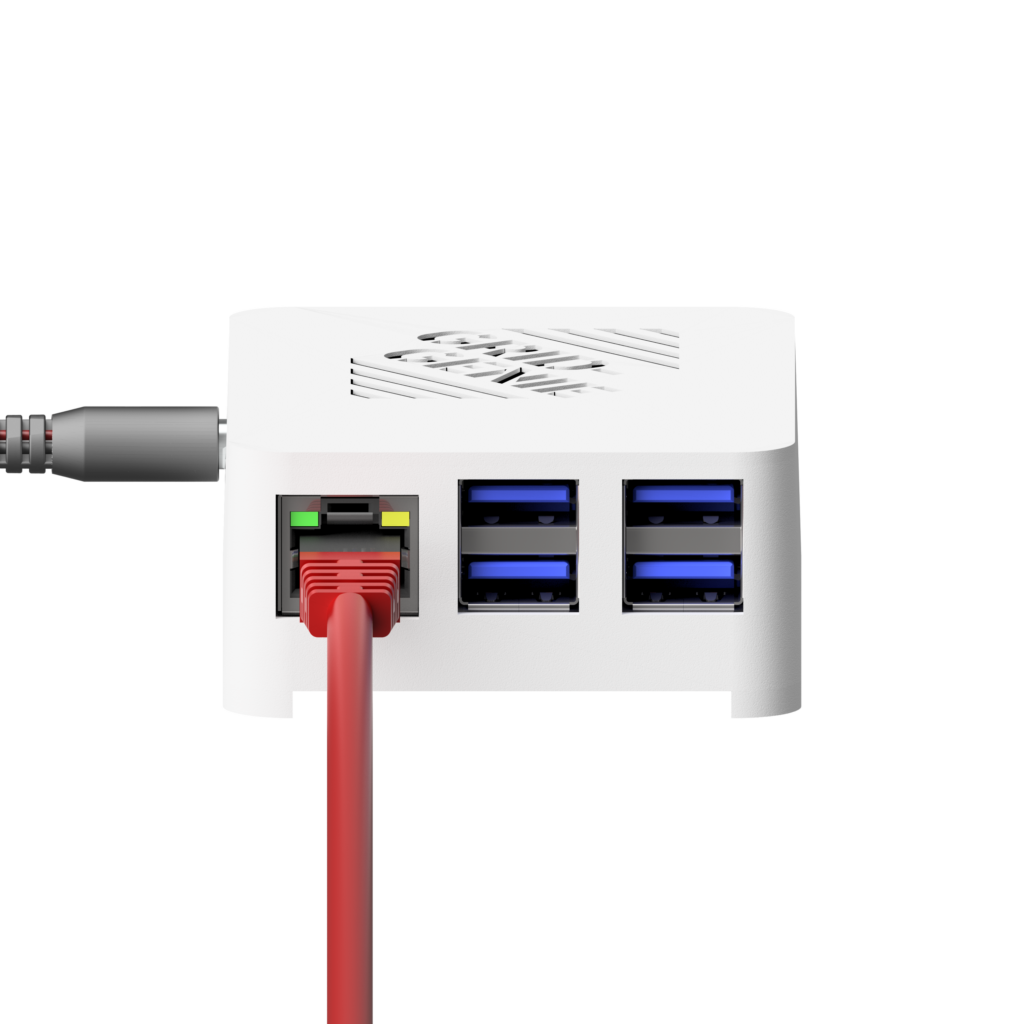
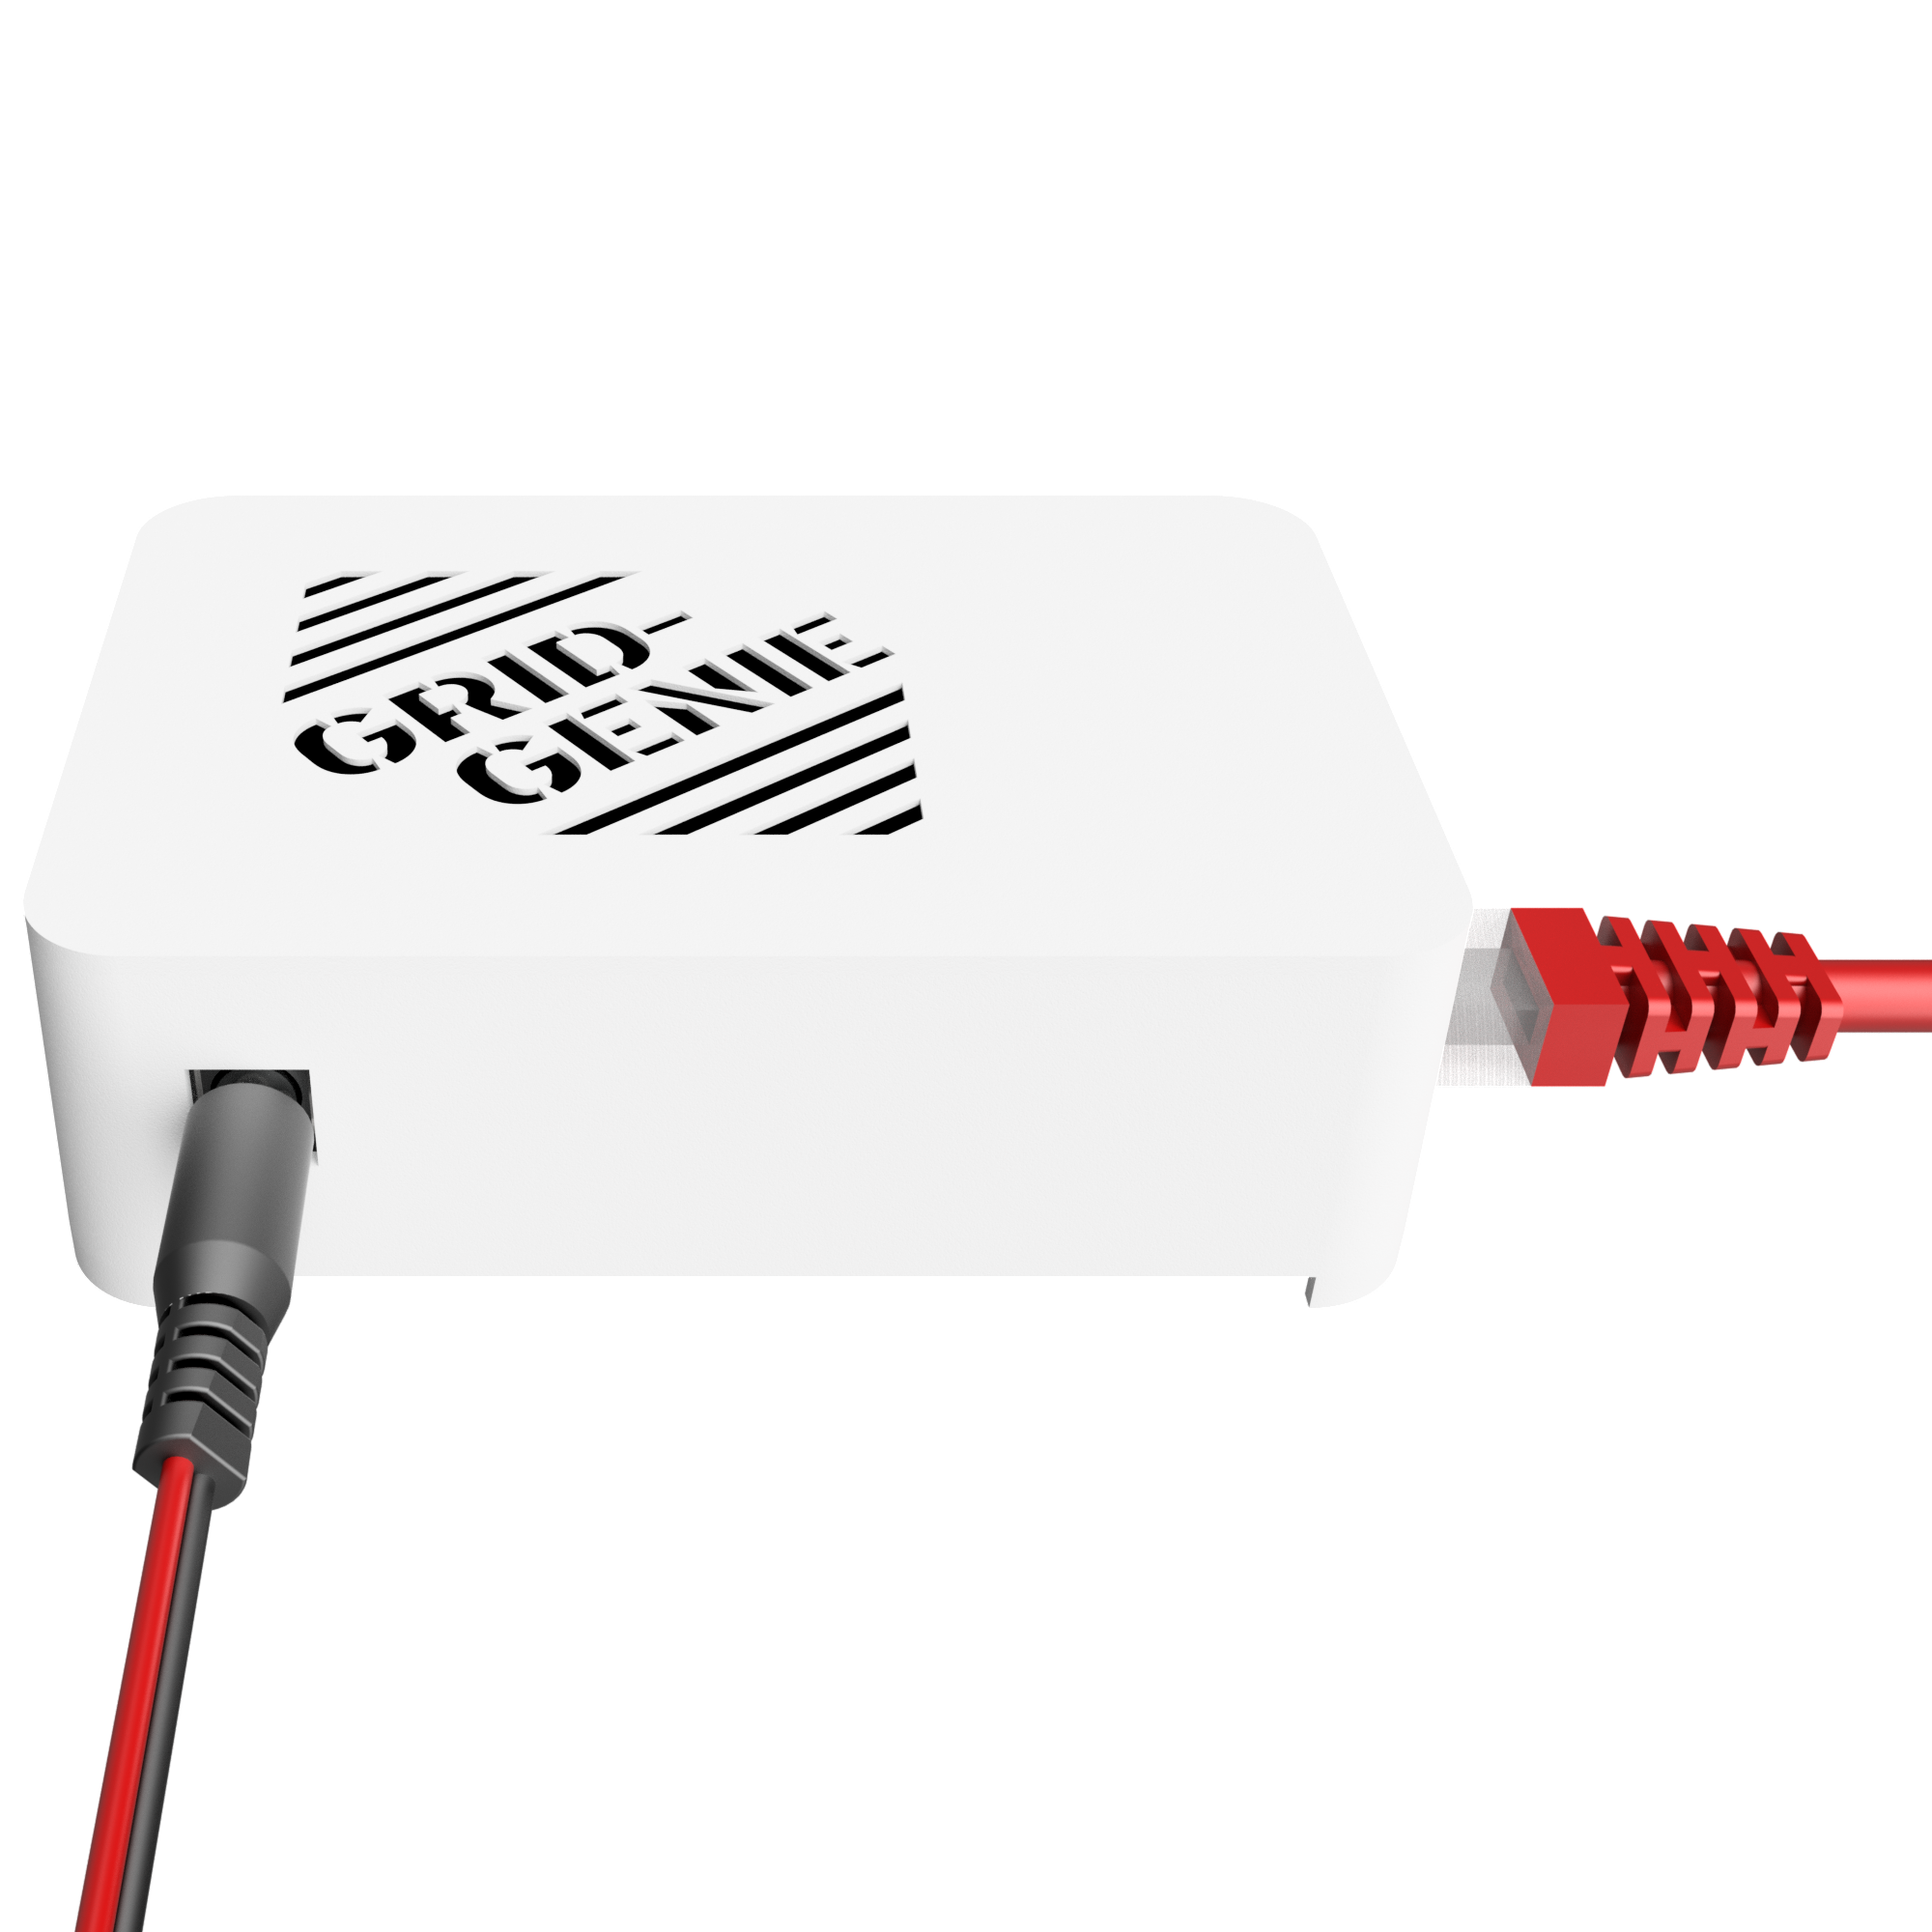
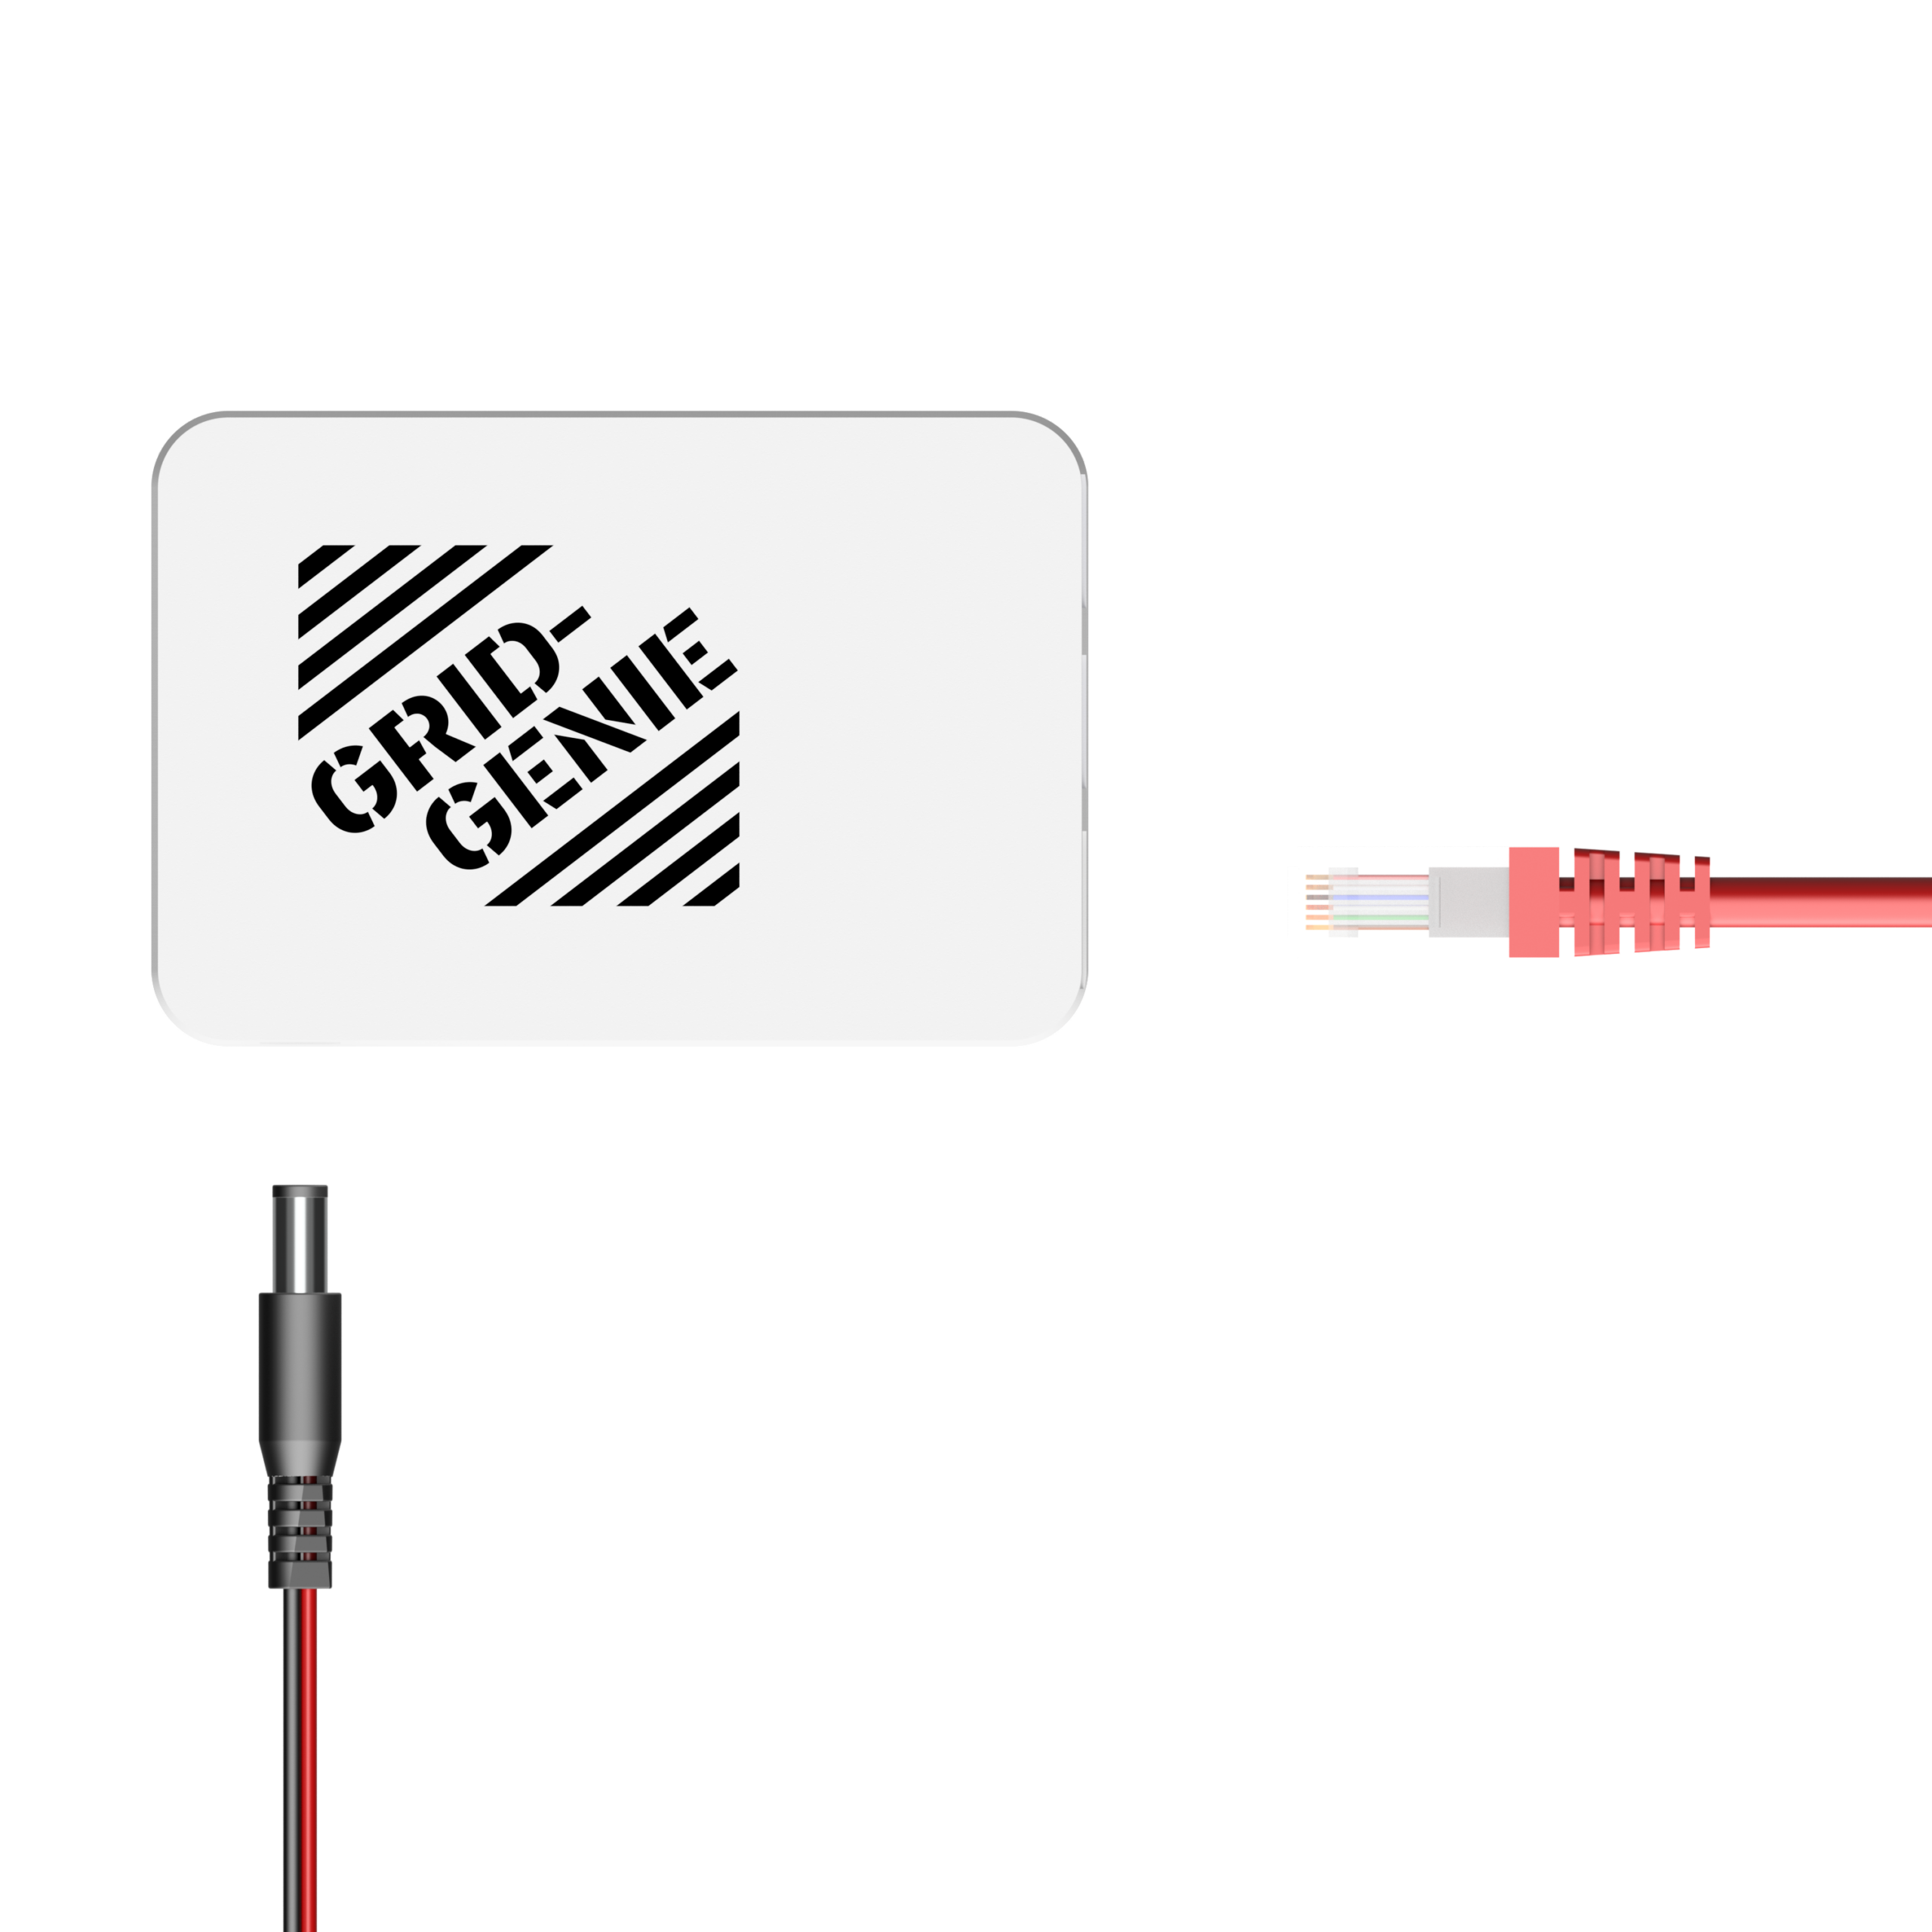
Connect the power adapter and a working internet connection to the box.
More information, help me!
Network cable
Connect the network cable to the GridGenie, preferably directly to the router. Avoid powerline adapters.
Not working? Check that the cable gives internet access on a computer or laptop.
Power adapter
Connect the supplied 12V 2A adapter to the box and to a live power socket. The device starts up straight away.
Note: the box starts up straight away; this takes about 5 minutes. On its first start the device immediately installs updates.
Scan the QR code
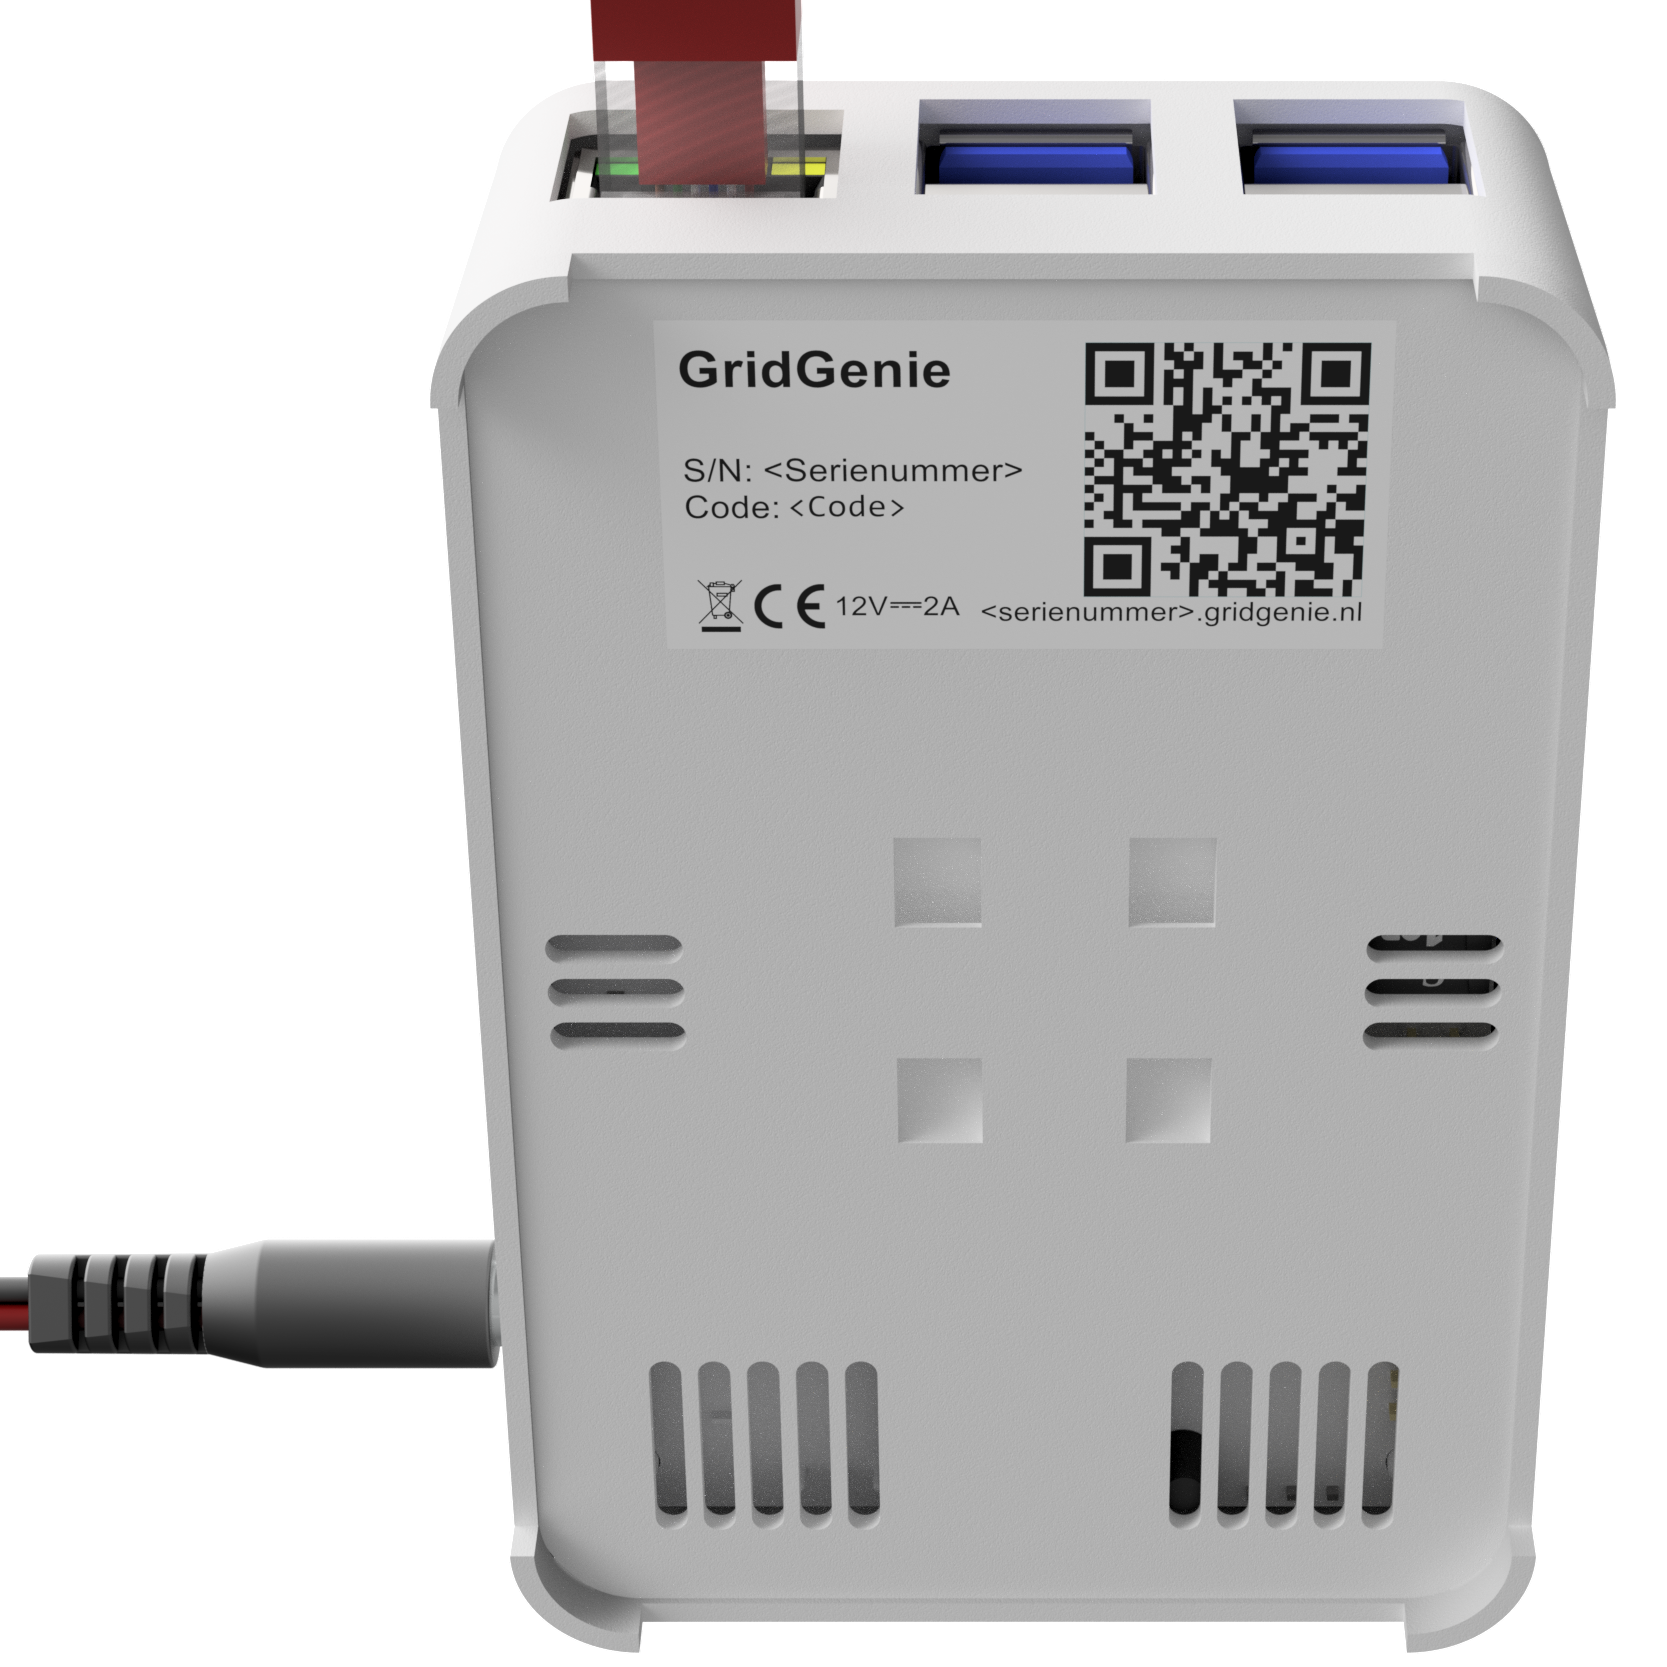
Scan the QR code on the underside of the box with your phone.
Enter the code
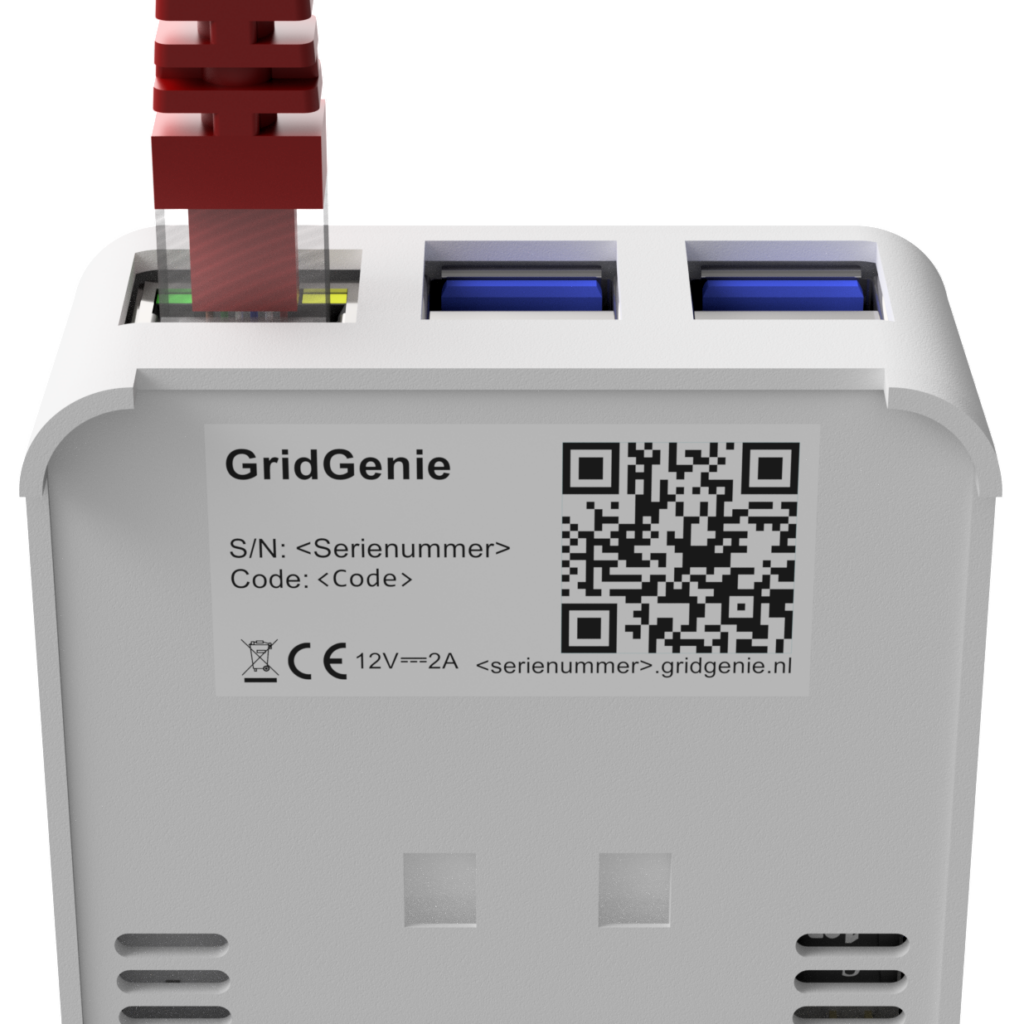
Does the screen ask for a code? Enter the code printed on the label on the underside of the box and tap “Log in”.
Where is the code?
On the label on the underside of the box, next to the QR code.
I don’t see this screen, what can I do?
1. Restart the box
After a restart the box can be reached over the internet for 1 hour. On your local network the box can always be reached. After a restart the box runs an update; this can take a few minutes.
2. Check the network cable
Always use a fixed, stable connection plugged directly into the router. Connecting through a powerline adapter, wifi extender or extra router is not recommended. First check that this cable gives you internet access.
3. Check the power adapter
Test the power socket with another device. Then connect the adapter between the live socket and the box. The box starts up straight away; this takes about 5 minutes.
Still stuck? We are happy to help. Contact us.
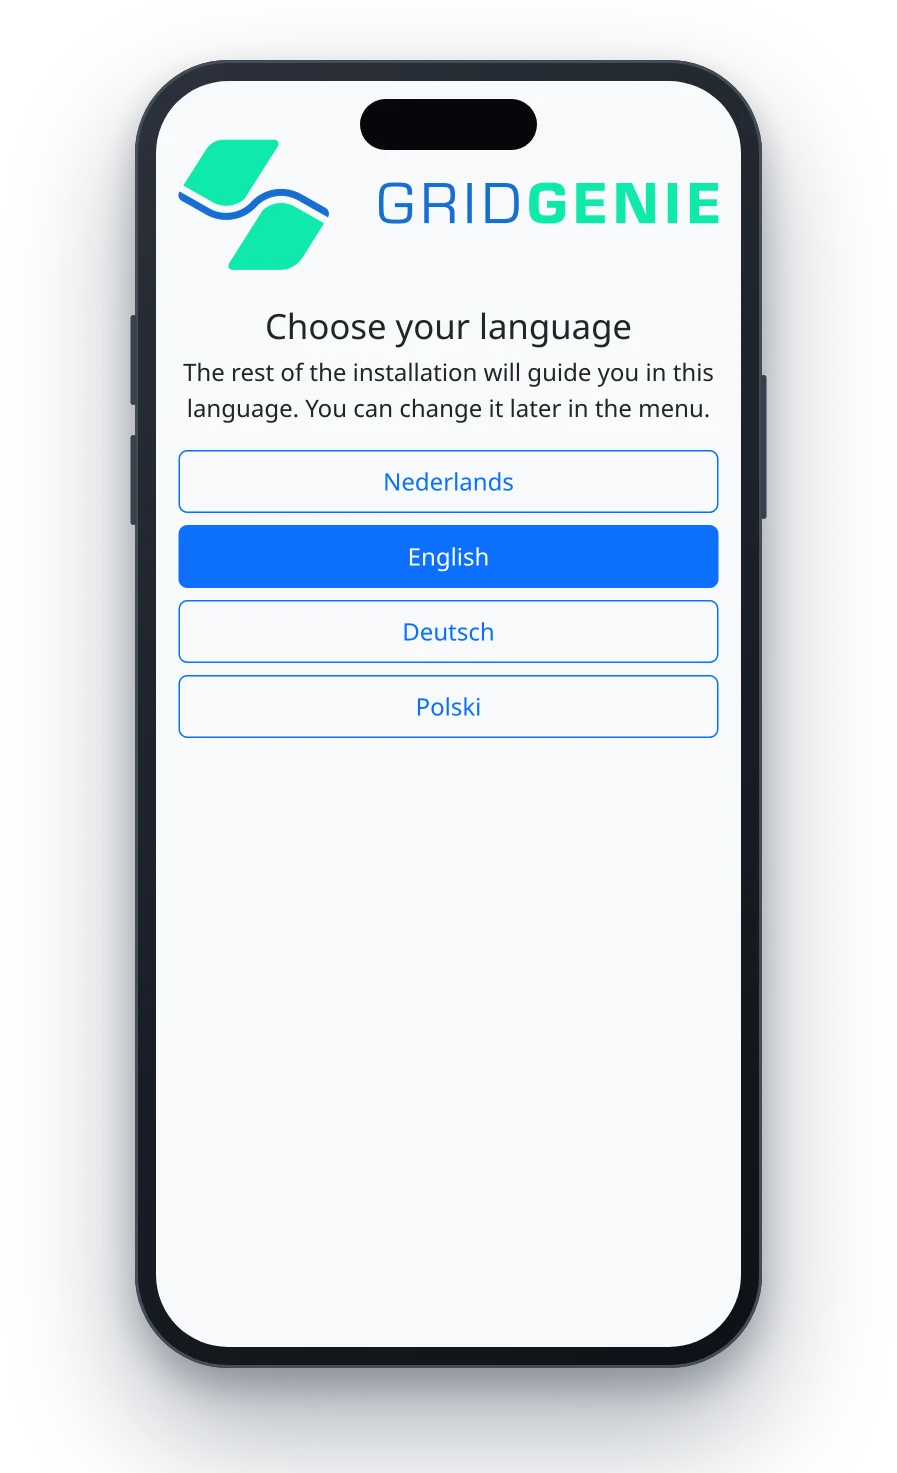
Choose your language
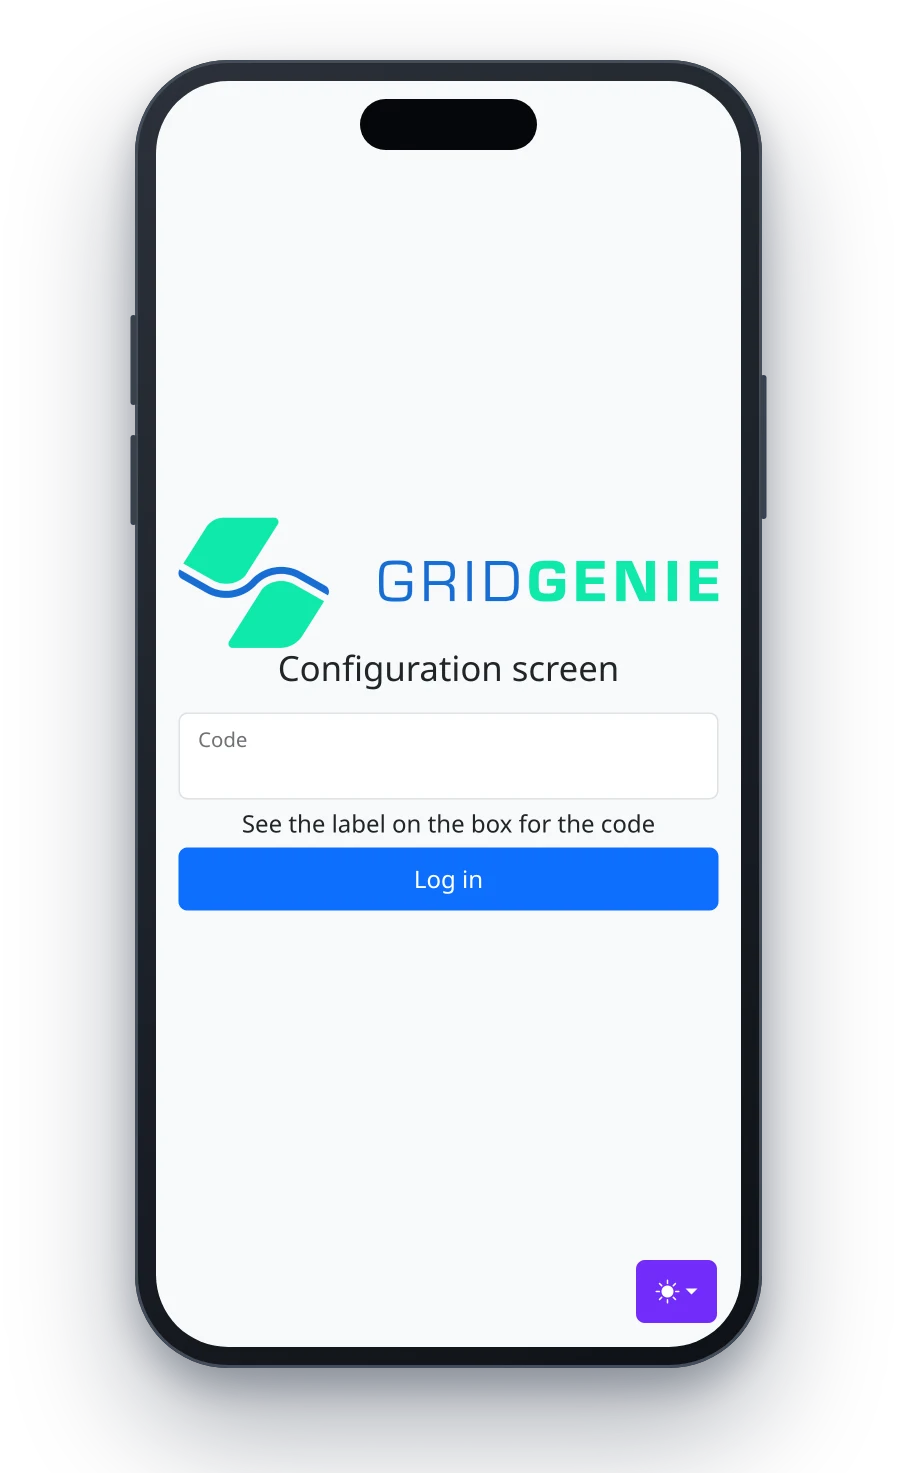
Choose Nederlands, English, Deutsch or Polski. The rest of the installation guides you in that language, and it also becomes the language of the app.
You can change it later with “Change language” in the menu of the box.
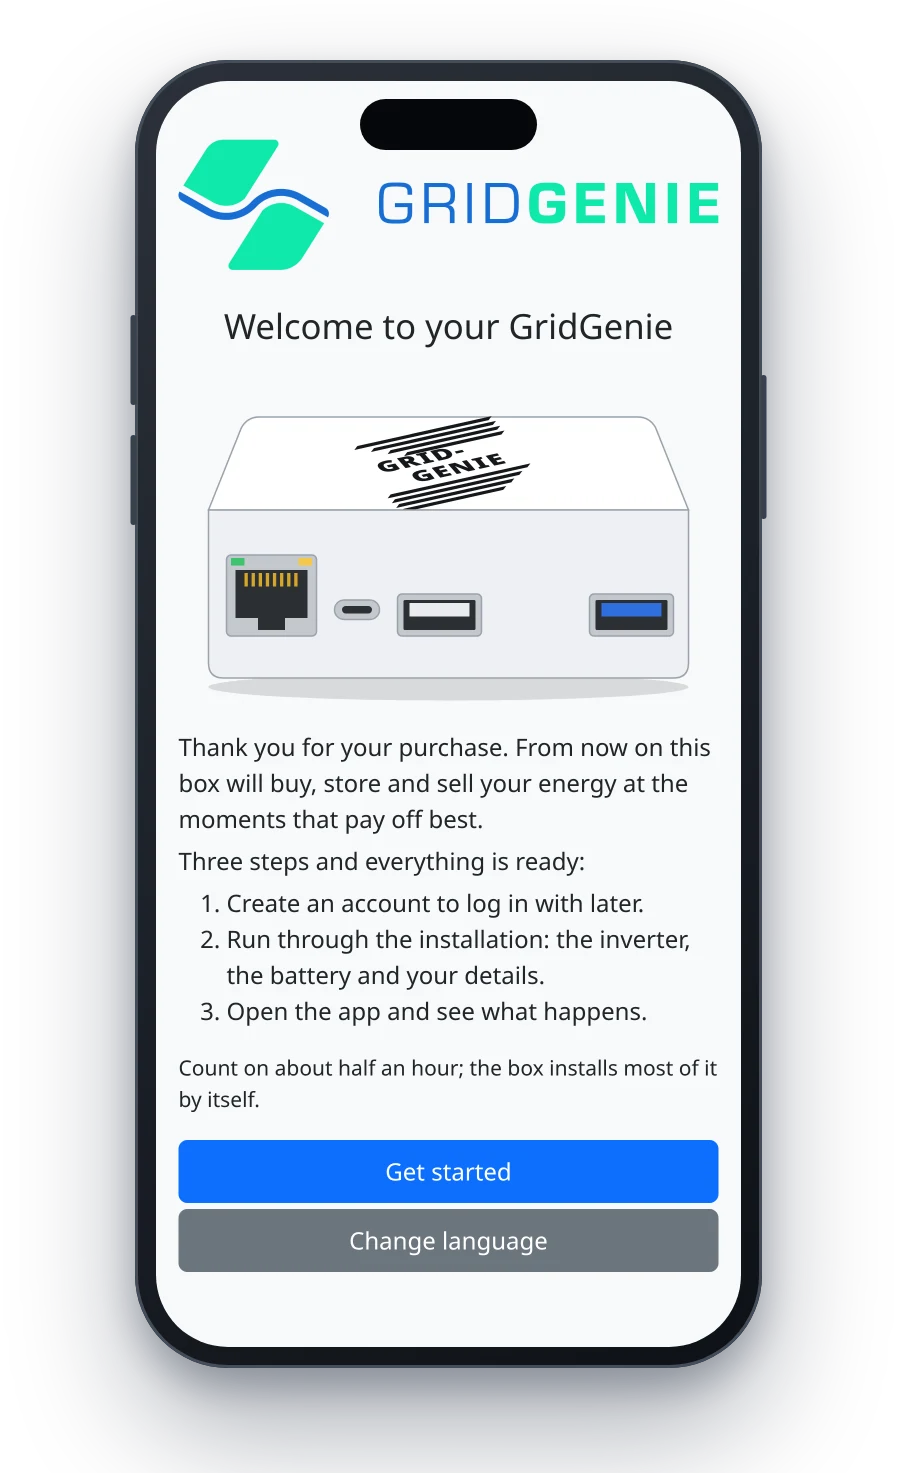
Welcome
The welcome screen lists what comes next: create an account, run through the installation (the inverter, the battery and your details) and then open the app.
Tap “Get started”. Allow about half an hour; the box installs most of it by itself.
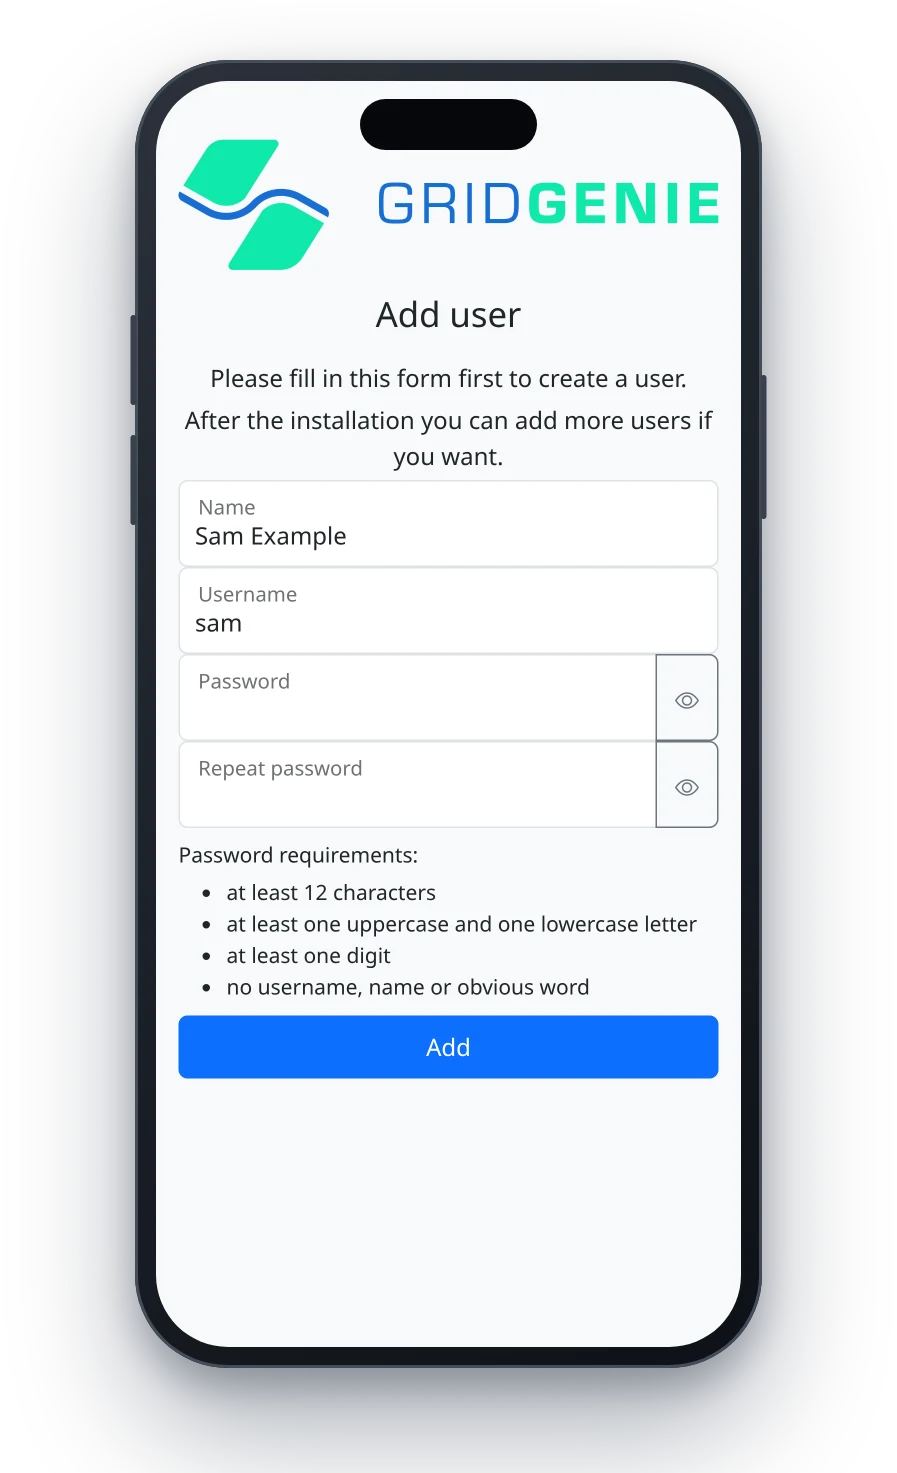
Add user
Create your user account: a name, a username and the same password twice. You will use these to log in to the app later, so remember them well! Then tap “Add”; the installation wizard starts by itself.
What are the password requirements?
At least 12 characters, at least one uppercase and one lowercase letter, at least one digit, and no username, name or obvious word. The screen shows which requirement is not met yet.
After the installation you can add more users in the menu of the box.
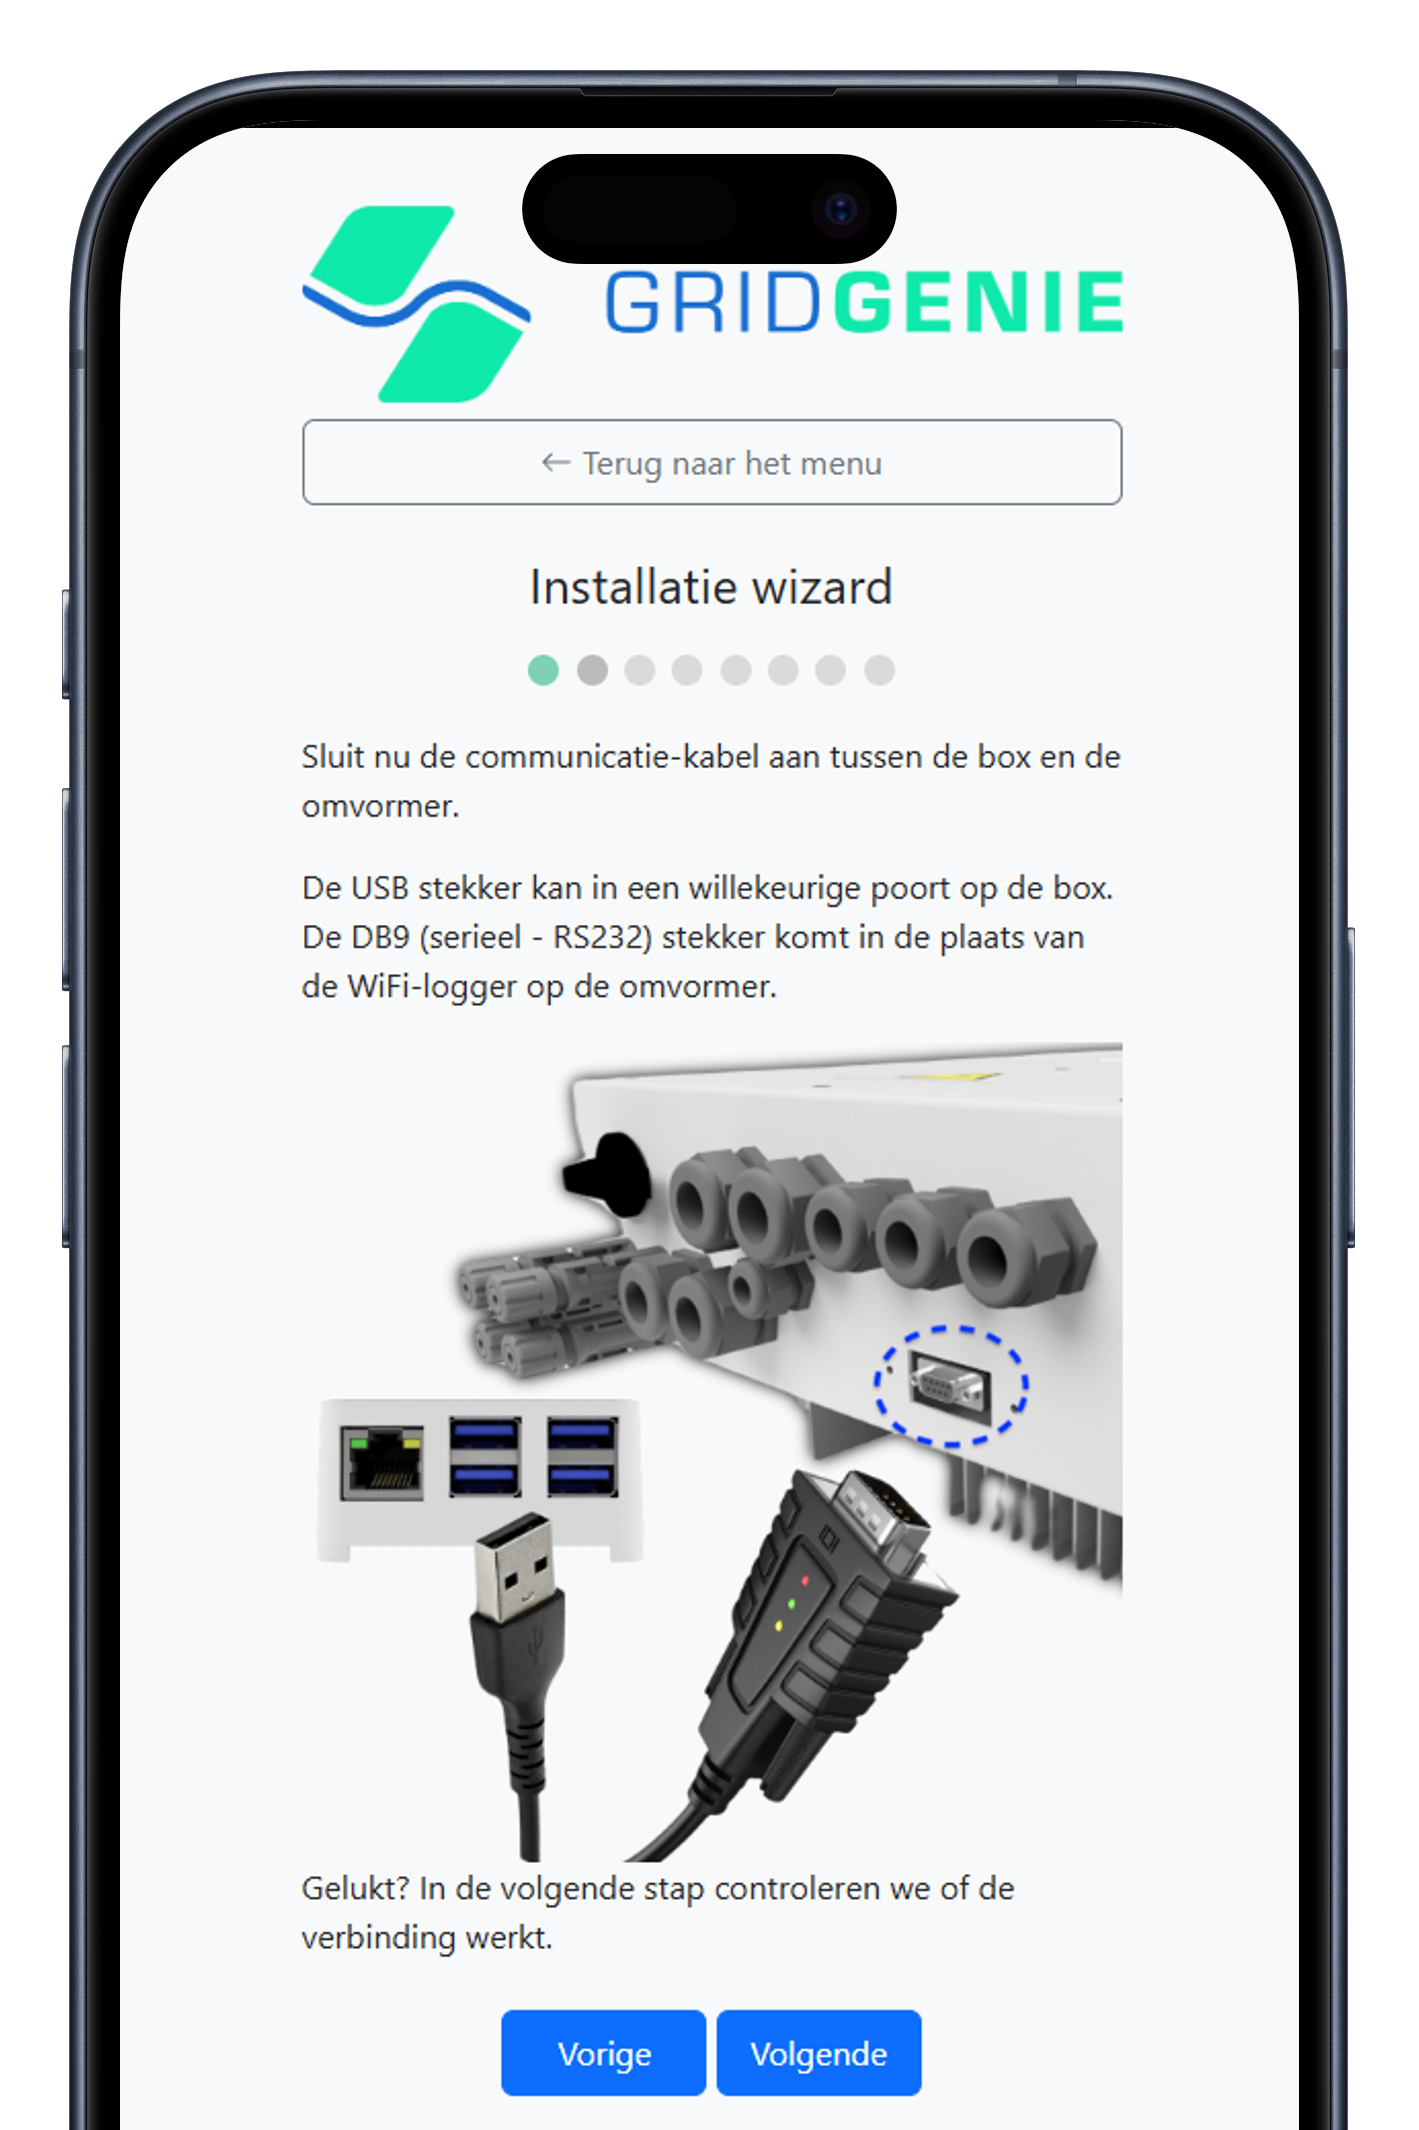
Connect the communication cable
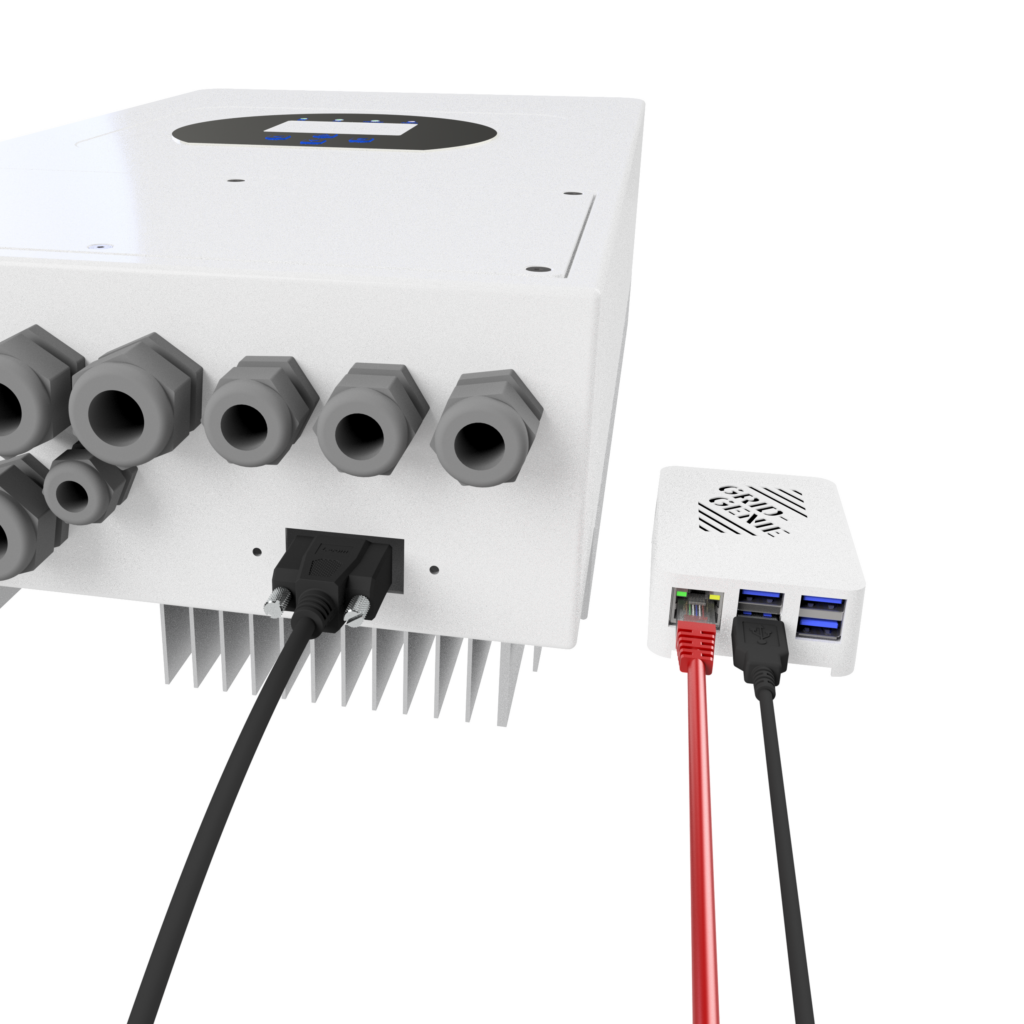
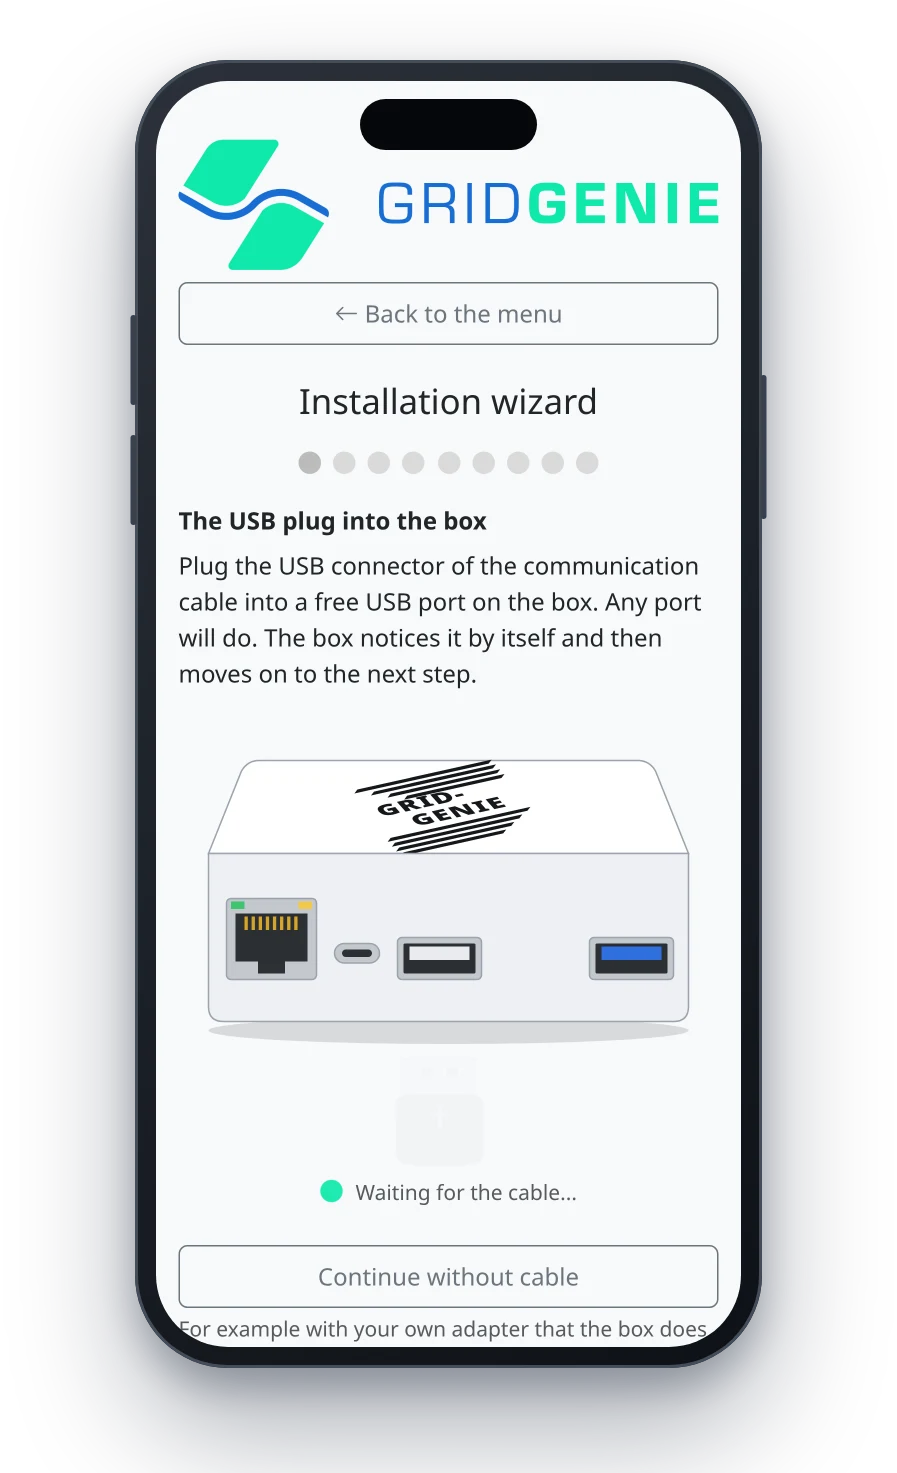
The installation wizard starts with the cable to the inverter. Plug the USB connector of the supplied communication cable into a free USB port on the box; any port will do.
The box notices the cable by itself, looks for the inverter and moves on to the next step automatically.
How do I connect the cable to the inverter?
USB to RJ45 (the cable supplied today)
The RJ45 plug goes into the connection compartment of the inverter, into the port labelled Modbus (sometimes called RS485), not into Meter-485 or Parallel. Have an installer open the connection compartment; the inverter must be disconnected from power for this.
Does the inverter have no Modbus port, only BMS 485/CAN (on some single-phase inverters)? Then the box shares that port with the battery. The wizard shows how to connect it.
USB to DB9 (the older cable)
Remove the wifi logger from the inverter and put the DB9 plug in its place (the WiFi Interface port, at the bottom). Tighten the two small screws.
Once the USB plug is in the box, the red light on the cable is on. If it is not, the cable is faulty. Please contact us straight away.
My inverter is not found, what can I do?
If the inverter does not answer, the wizard asks which cable you are using and shows how to connect it. In the step “Connection to the inverter” you then choose the adapter yourself, or let the box try every speed and address with “Detect automatically”.
Also check on the display of the inverter, under Advanced Function, page 3: Modbus SN = 01 (not 00) and Baud Rate = 9600. After a firmware update Modbus SN may have fallen back to 00.
Note: if you change Baud Rate or Modbus SN, the inverter restarts. Backup power is then briefly interrupted. If everything is already set correctly, change nothing. The wizard remembers where you were.
Do you read the inverter with your own adapter, or over the network (Modbus TCP)? Then choose “Continue without cable”.
Does GridGenie support other cables? Only the supplied communication cable is fully supported. Is it missing? Please contact us straight away.
Inverter details
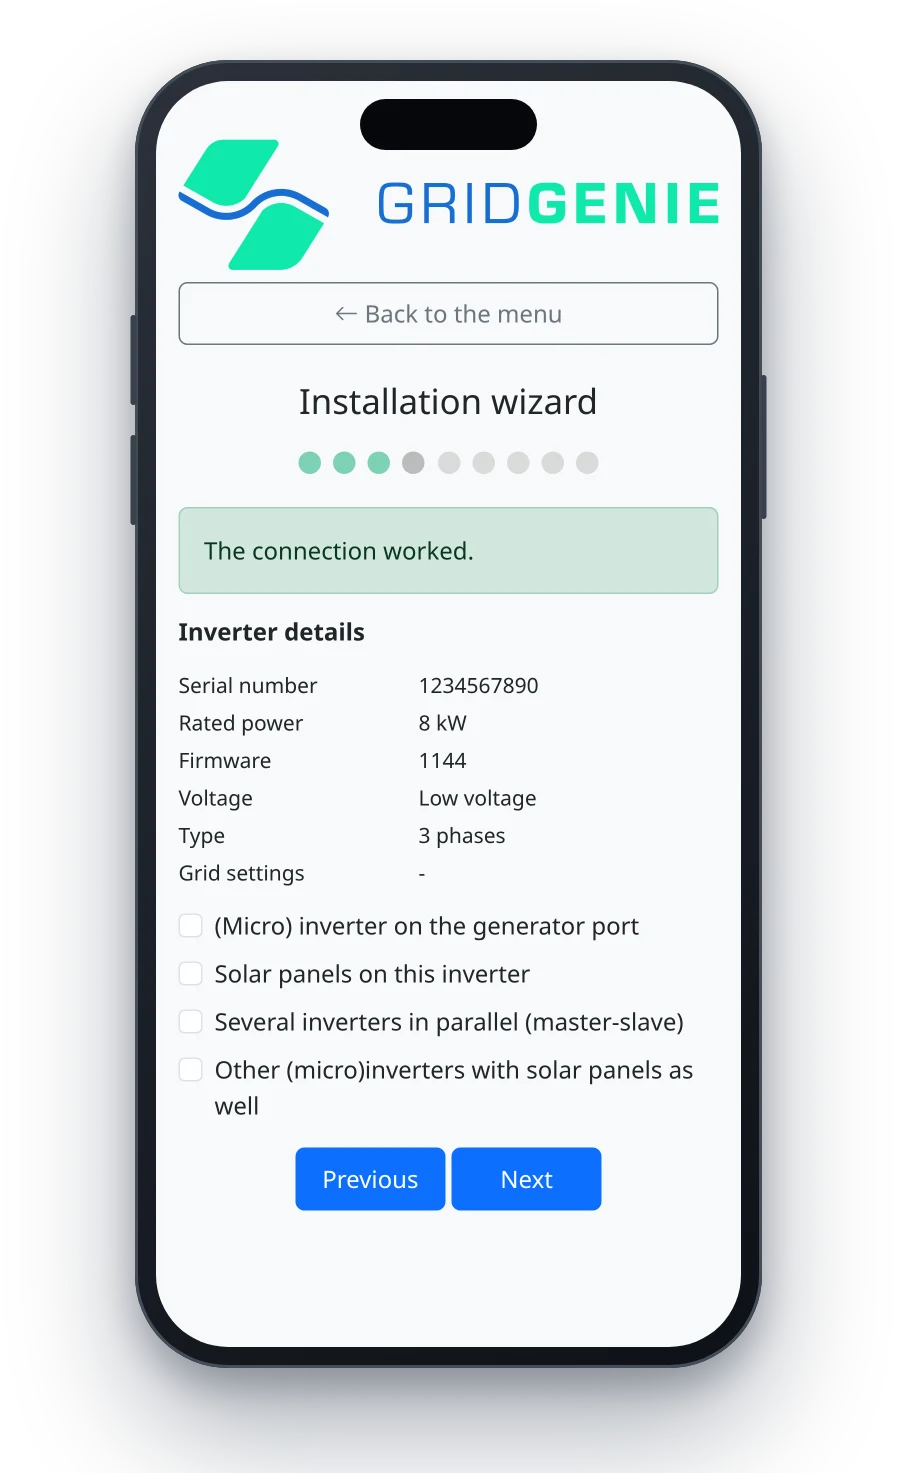
Once the connection works, the box reads the inverter: serial number, rated power, firmware, voltage, type and grid settings. Check that these are correct.
Below that, tick what belongs with the inverter: a “(Micro) inverter on the generator port”, or “Several inverters in parallel (master-slave)”, with the number of inverters.
Some details are wrong, what should I do?
Correct the details in the inverter. Ask your installer for the right technical support. Then tap “Previous”, let the box read the inverter again and check the details once more.
The connection did not work, what can I do?
Check the connections and tap “Check again”. If it still does not work, go back a step to choose a different adapter, baud rate or slave ID, or to let the box search automatically. See also the help with step 7.
Solar panels
On the same screen you indicate where solar panels are connected. Tick “Solar panels on this inverter” and fill in the number of MPPT trackers that have panels on them. Are there other (micro)inverters with panels next to this inverter? Then tick “Other (micro)inverters with solar panels as well” and fill in how many groups of panels that is.
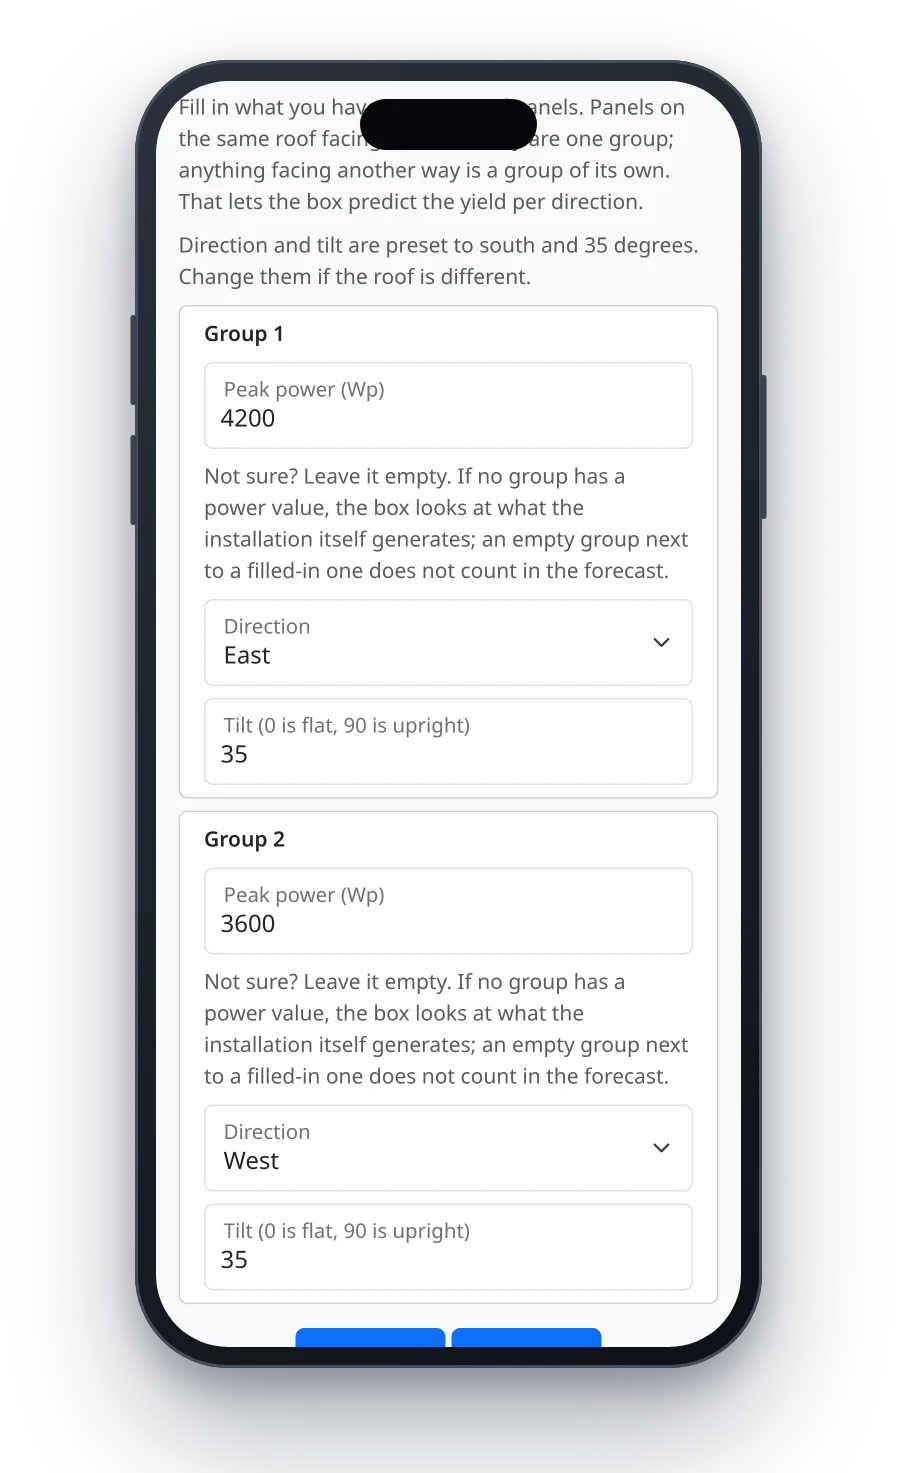
That gives the number of groups. For each group, fill in:
- Peak power (Wp) of the panels in that group;
- Direction: south, southwest, west, northwest, north, northeast, east or southeast. If the roof faces somewhere in between, choose “Custom” and enter the direction in degrees (0 is south, -90 east, 90 west);
- Tilt: 0 is flat, 90 is upright.
Direction and tilt are preset to south and 35 degrees. This lets the box predict the yield per direction: an east-west roof gives two smaller peaks instead of one large one around midday.
What is a group of panels?
Panels on the same roof facing the same way are one group together. Anything on another side is a separate group. The number of groups the wizard shows is a starting value: what counts is the direction. Two strings on one MPPT tracker facing the same way are therefore one group.
Don’t know the peak power? Then leave it empty. If no group has a power value, the box looks at what the installation itself generates. An empty group next to a filled-in one does not count in the forecast.
You can change this in the app after the installation.
Grid details
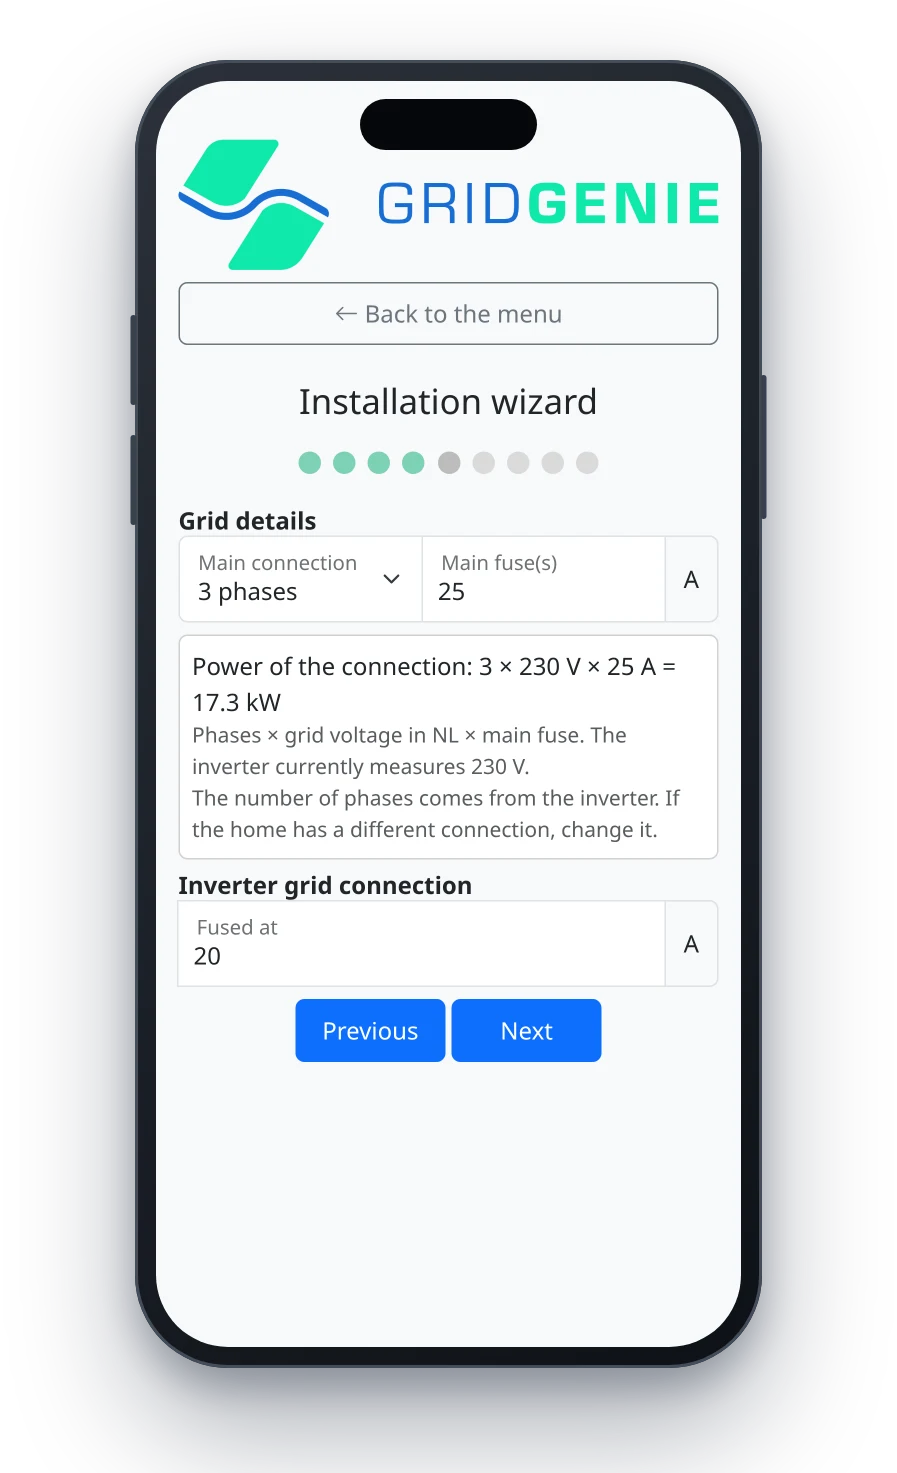
Under “Main connection”, choose 3 phases or 1 phase and fill in the value of your main fuse(s). The number of phases comes from the inverter; if the home has a different connection, change it. The wizard calculates the power of the connection from this.
Under “Inverter grid connection”, fill in what the inverter is fused at, for example the circuit breaker of the inverter.
Battery details
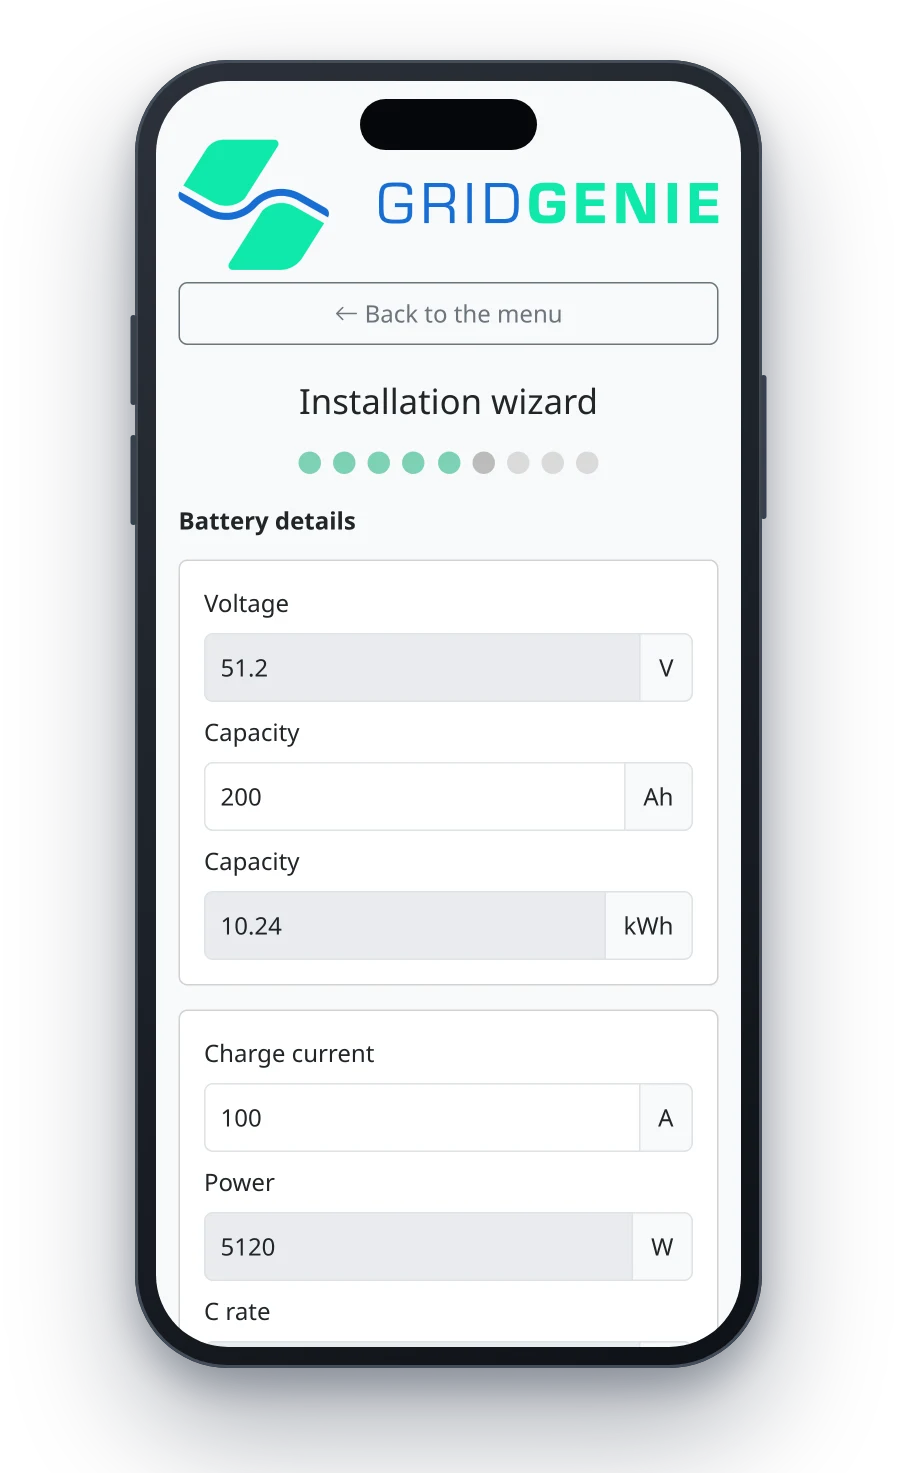
The battery details come from the inverter: voltage, capacity, charge current and discharge current. The wizard calculates the power and the C rate itself. Check the details carefully and correct the capacity and/or current where needed.
The wizard shows the maximum charge and discharge current the box sets with this inverter. If you enter more, if the battery would be allowed to charge at a higher power than the grid connection is fused for, or if the rate is higher than 0.5C, you get a message asking you to check the value.
About these details
These settings must always be set correctly on the display of the inverter. Ask your installer about this.
Battery Capacity
The capacity in ampere-hours (Ah). For high-voltage systems (batteries in series) this is usually equal to one battery; for low-voltage systems (batteries in parallel) it is usually all batteries added together. Check the specification labels on the batteries and the inverter.
Battery Charge current / Battery Discharge current
The maximum current (direct current, DC) that the weakest link of the installation can handle: think of cables, batteries, inverter, circuit breakers or fuses.
With several inverters (master-slave), enter the current per inverter, as shown on the display of each inverter, not the total.
Customer contact details and address
Fill in the contact person, the e-mail address and the phone number of the resident.
Under “Installation address”, tap “Use my location” or look up the address. Check that the pin on the map is in the right place; move it yourself if needed. The energy market follows the address. If it is wrong, pick the correct market yourself.
What do you do with these details?
The contact details are used for support purposes only. This may involve contacting the end user. The address determines the energy market (and therefore which prices the box uses) and the location for the solar yield forecast.
Installer contact details
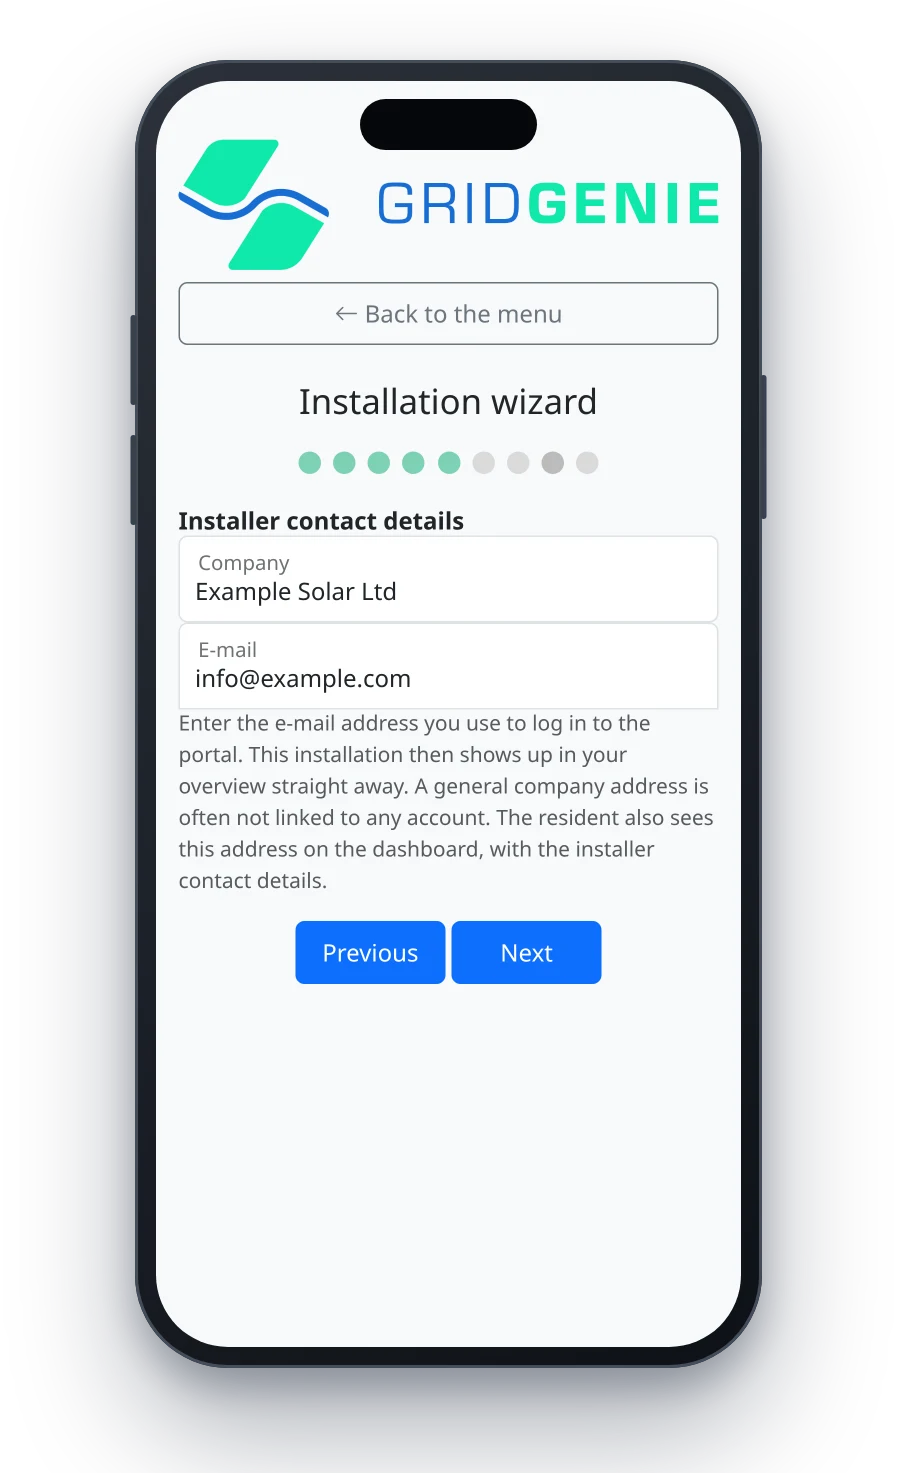
Enter the details of your installer here: company and e-mail address. Did you install it yourself? Then fill in your own name and e-mail.
Are you an installer with an account on the GridGenie portal? Then enter the e-mail address you use to log in there. This installation then shows up in your overview straight away. A general company address is often not linked to any account.
What do you do with these details?
These details are used for support purposes only. This may involve contacting the installer. The resident also sees this address in the app, with the installer’s contact details.
I get a message about the grid settings
If the grid settings of the inverter do not match the country of installation, the wizard reports it here, with the current setting of the inverter and what it should be. You change this on the display of the inverter (settings > Grid Setting), following the connection requirements of the grid operator. The box does not change anything here itself.
The message does not stop you. If you have checked it and it is correct after all, tick “I have checked this and am leaving it as it is”.
Note: after the change the inverter may restart. Backup power is then briefly interrupted.
Permissions
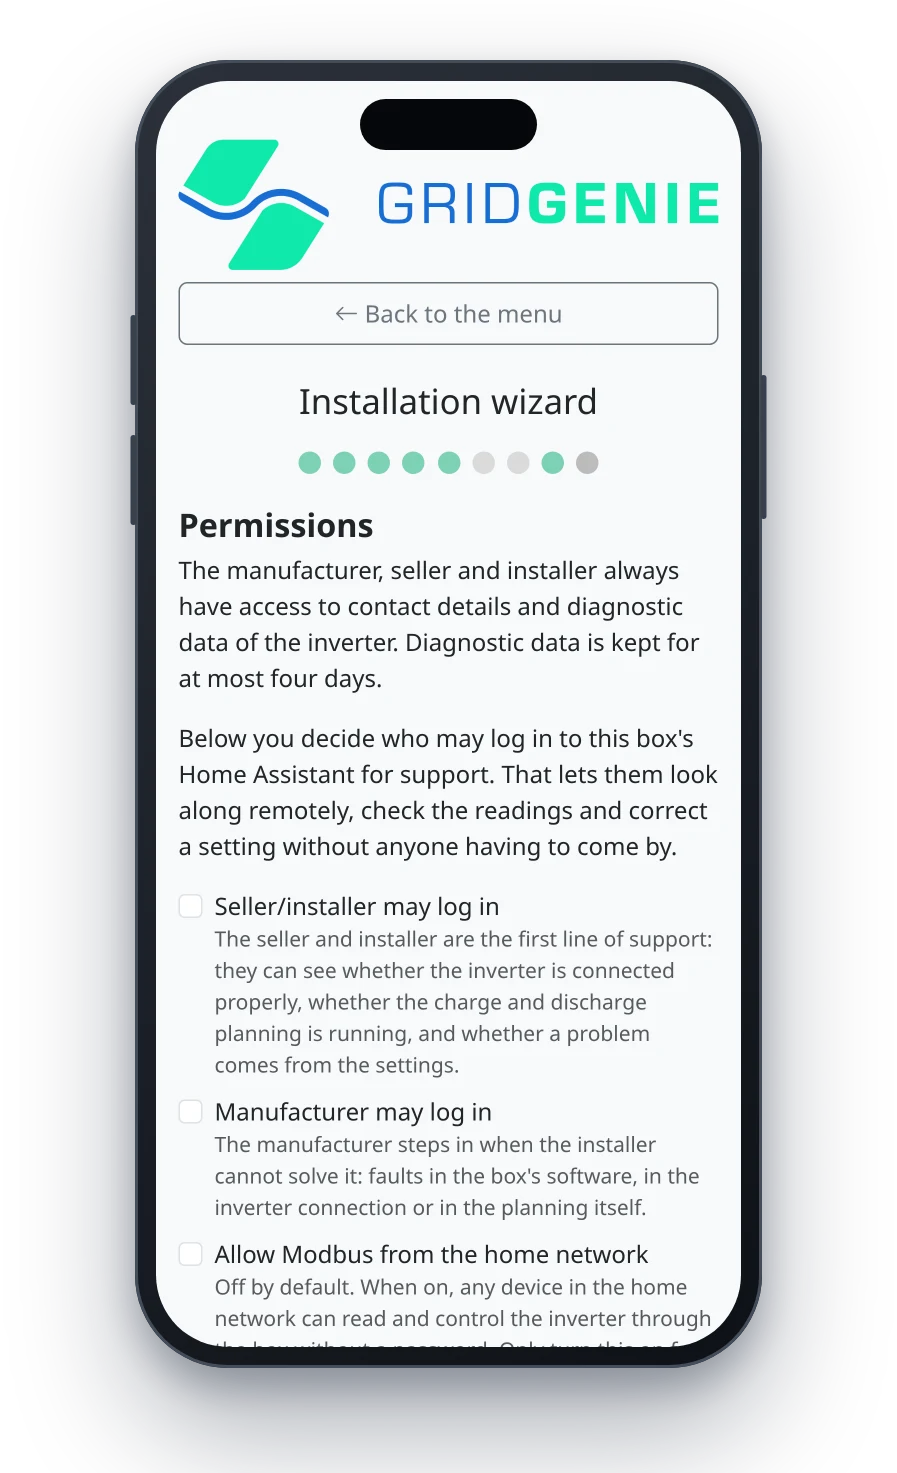
Here you decide who may log in to the app of this box for support: “Seller/installer may log in” and “Manufacturer may log in”. That lets them look along remotely, check the readings and correct a setting, without anyone having to come round.
Agree to the general terms and conditions and tap “Start installation”. Installing for someone else? Go through the permissions with the resident first.
Which data is shared?
The manufacturer, seller and installer always have access to contact details and diagnostic data of the inverter. Diagnostic data is kept for at most 4 days and used only for technical support and troubleshooting.
The seller and installer are the first line of support: they can see whether the inverter is connected properly, whether the charge and discharge planning is running, and whether a fault comes from the settings. The manufacturer steps in when the installer cannot solve it. If you switch off one of these login options, remote support is no longer possible and fixing a fault takes a lot longer. You can change this choice later in the configuration screen.
What is “Allow Modbus from the home network”?
This option is off by default, and that is right for almost everyone. When it is on, any device in the home network can read and control the inverter through the box. Only switch it on if you have your own monitoring or energy management system that needs it.
Installation
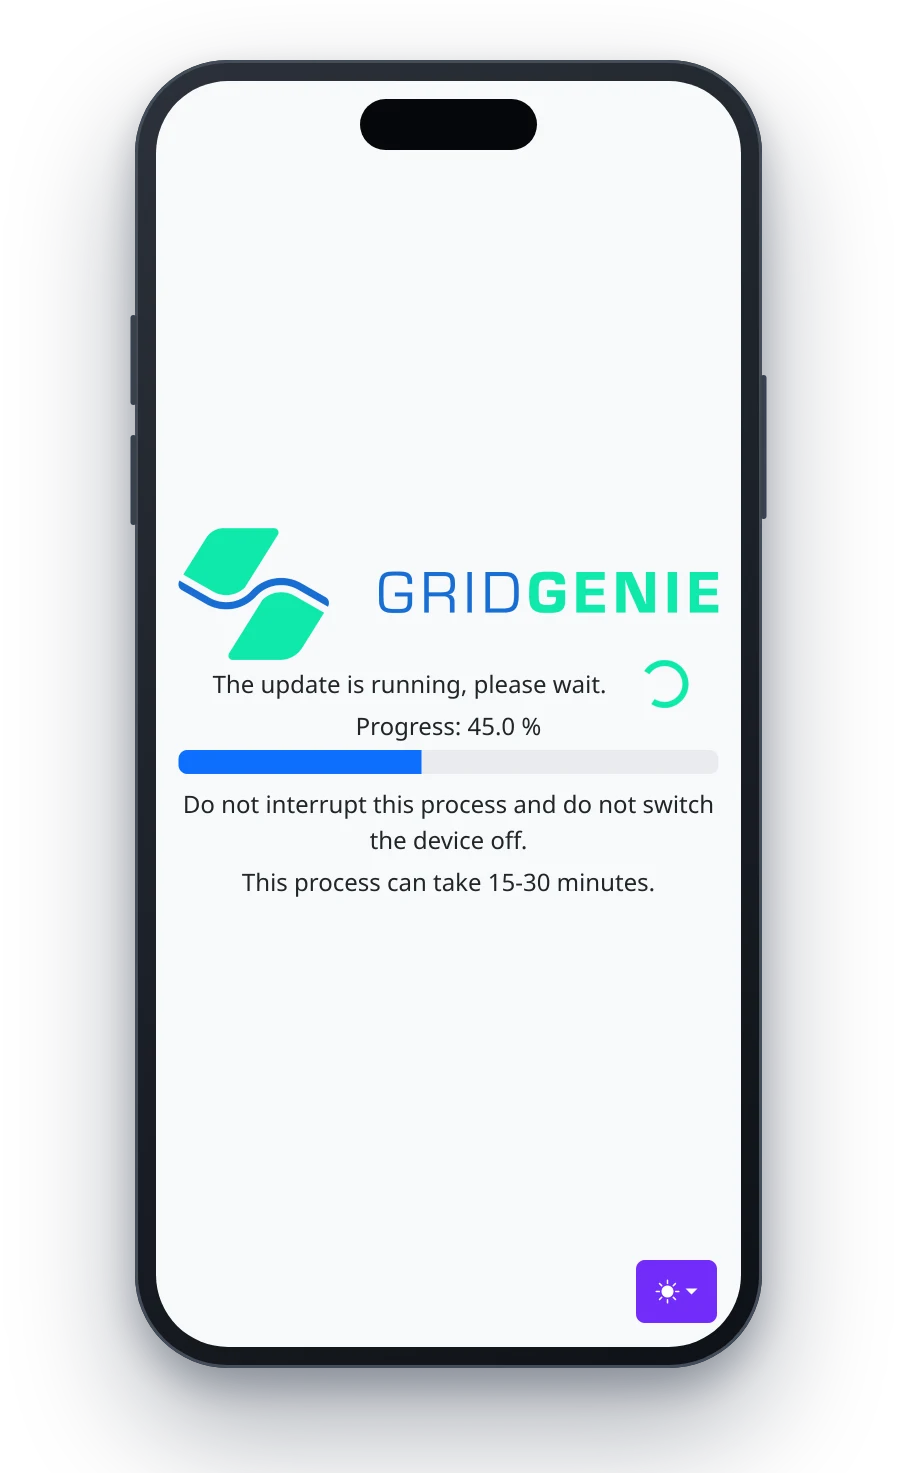
The details are saved and the box is set up. This takes 15 to 30 minutes; you can follow the progress on the screen. Do not interrupt this process and do not switch the box off.
Once the installation has succeeded, tap “Continue to the app” and log in with the user you created in step 6. It may take a little while before the app has fully started. Done!